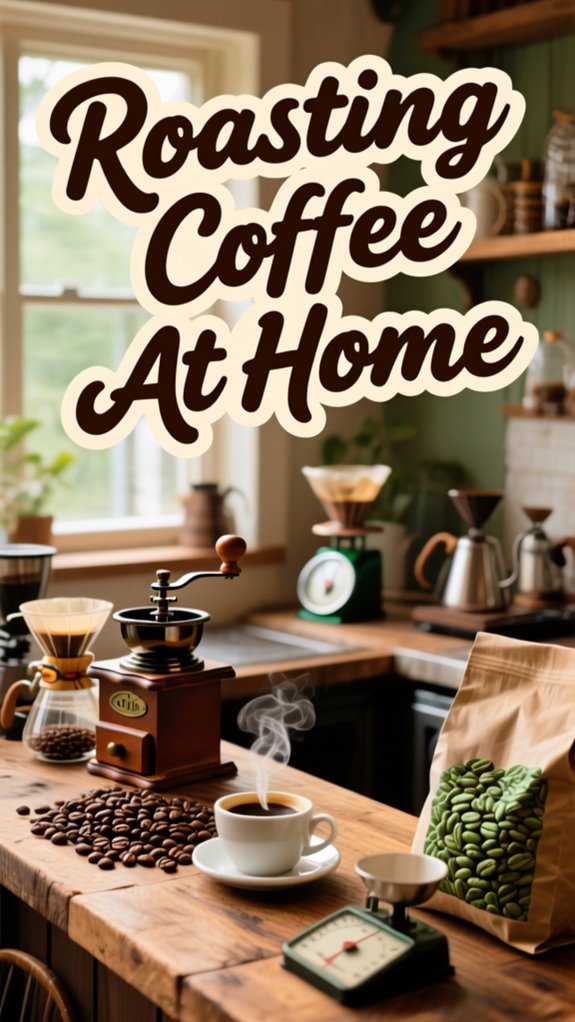
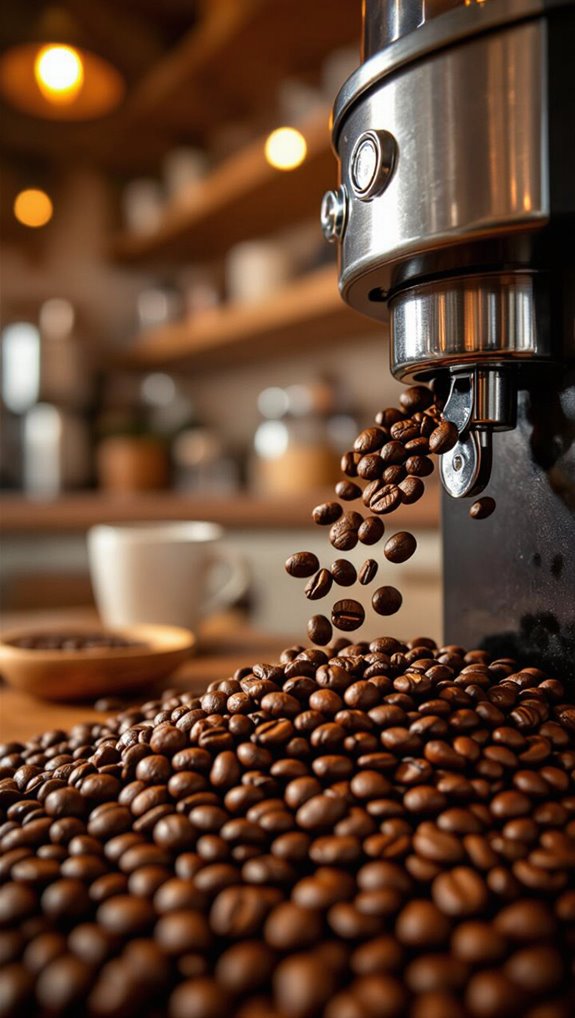
Are you tired of expensive coffee shop visits and inconsistent store-bought beans that lose their flavor within days of opening? Many coffee lovers find themselves frustrated with pre-roasted options that never quite match their taste preferences or deliver that perfect cup they’re seeking.
Home roasting coffee beans is the ultimate solution for taking complete control over your coffee experience. In this comprehensive guide, you’ll discover how to select quality green beans, master different roasting techniques using equipment you likely already own, and develop the skills to create custom flavor profiles that rival professional roasters.
Whether you’re looking to save money, explore unique coffee origins, or simply enjoy the freshest possible cup every morning, this step-by-step tutorial will transform you from a coffee consumer into a confident home roasting enthusiast.
Table of Contents
Roasting coffee at home basics guide
Dive into the rewarding world of home coffee roasting by mastering a few essential techniques that’ll transform green coffee beans into aromatic, freshly roasted coffee.
Start with a small-batch approach using a simple home roaster like a hot-air popcorn machine. Watch closely for the first crack-that magical moment when beans begin popping, signaling the start of your roasting journey.
Track your bean temperature and rate of rise carefully. Cool beans immediately after reaching your desired roast level.
Let your freshly roasted coffee rest 12-48 hours before brewing, and you’ll unlock incredible flavors right in your kitchen.
How to roast coffee at home
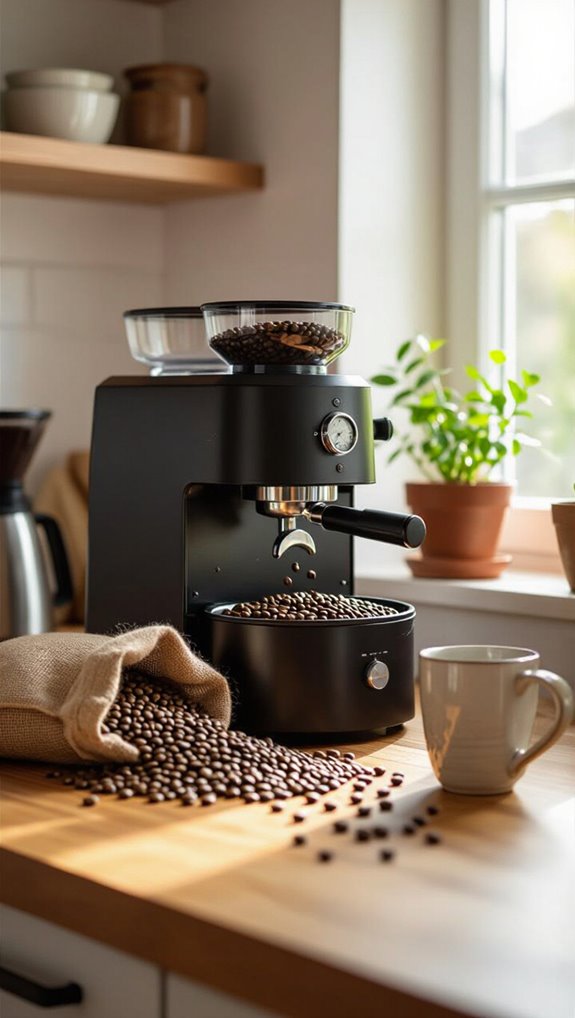
Roasting coffee at home starts with gathering the right ingredients and equipment, from selecting high-quality green beans to choosing a suitable roasting method like an air popcorn roaster or home drum roaster.
You’ll need to master key techniques like monitoring bean color, listening for the first crack, and controlling roasting temperatures to achieve your desired flavor profile.
With practice, you’ll learn how to transform raw green beans into a perfectly roasted batch that captures the nuanced flavors and aromas unique to each coffee origin.
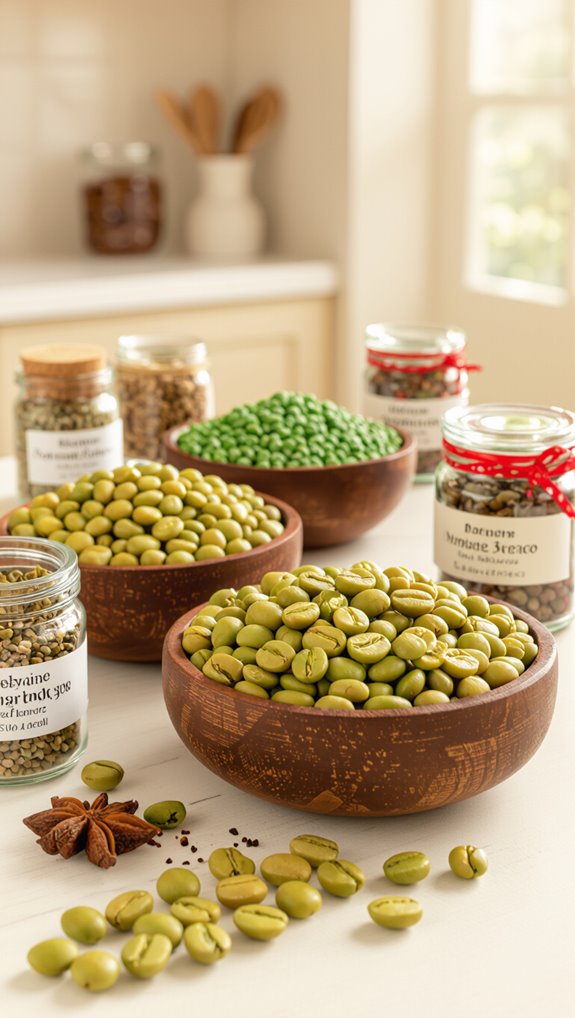
Ingredients
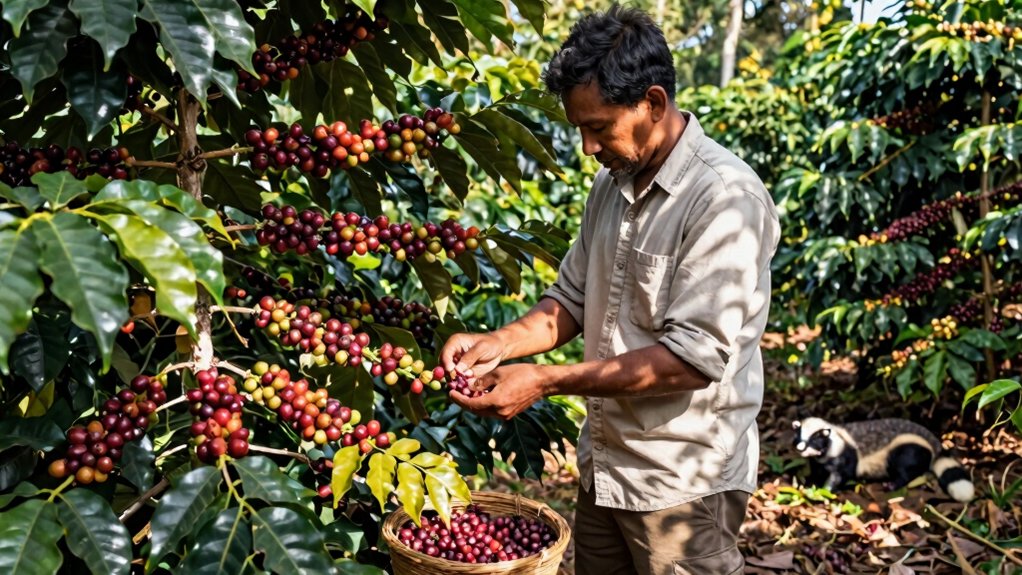
The foundation of home coffee roasting begins with selecting high-quality green beans, which are unroasted seeds brimming with potential flavor complexity.
Green beans typically have a moisture content around 10-13% and come in small 250-500g bags from specialty suppliers like Sweet Maria’s.
When choosing your batch size, stick to 50-200g for home roasters to ensure even heat distribution and optimal roasting.
Store them away in a cool, dark place in an airtight container, keeping them fresh for 6-12 months.
Grasping the temperature of the beans and recognizing the first crack will help you master your roasting technique.
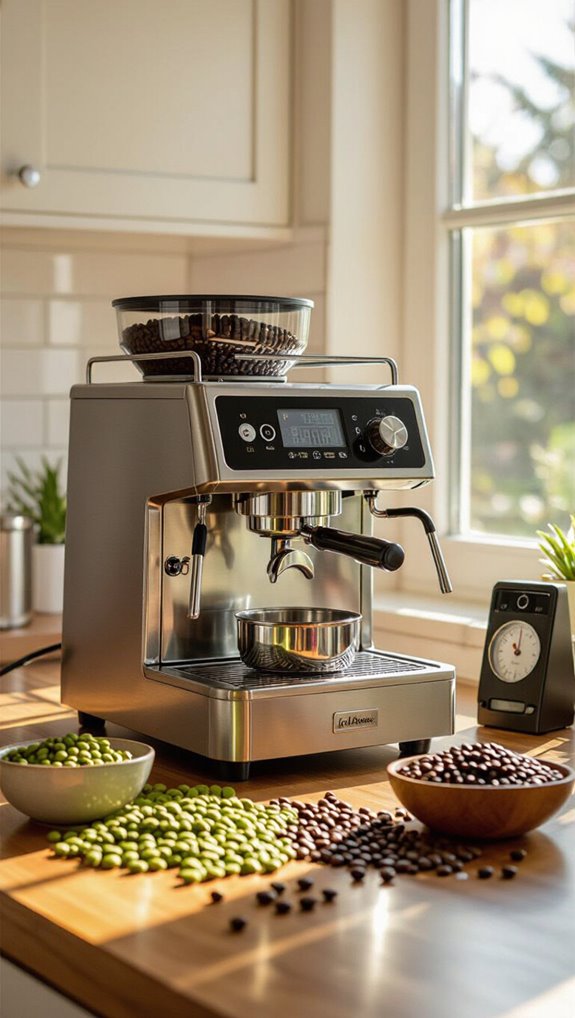
Equipment
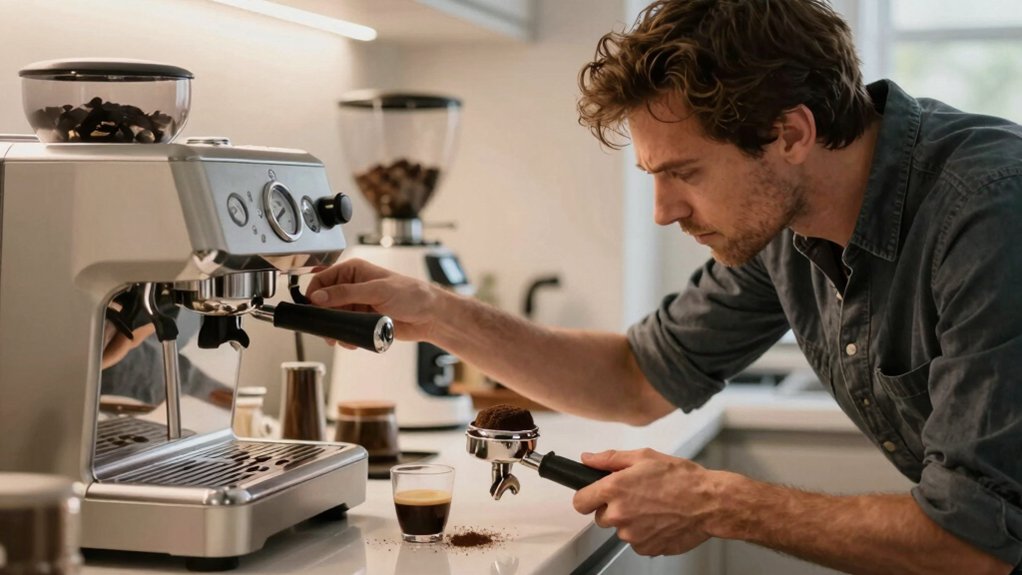
Since home coffee roasting requires the right equipment to transform green beans into aromatic, flavorful roasts, I’ll guide you through selecting the perfect roasting setup for your needs and budget.
From budget-friendly air roasters to professional drum roasters, your choice depends on batch size, ventilation, and control level.
My top recommendations include popcorn poppers for beginners ($20-$50), Fresh Roast machines for intermediate roasters ($150-$300), and Behmor drum roasters for serious enthusiasts ($400-$800).
Essential accessories like a digital scale, probe thermometer, and cooling tray will elevate your roasting precision and consistency.
Instructions
When you’re ready to transform green coffee beans into a personalized roast, mastering home coffee roasting requires grasping a few key techniques that’ll elevate your brewing game.
Start by preheating your roaster to the right temperature for your batch size, typically between 170–190°C. Listen carefully for the first crack, which signals the beans are developing flavor.
Track your development time-aim for 15–25% of total roast duration for balanced flavor. Immediately stop roasting, then rapidly cool the beans to remove chaff and halt chemical reactions.
Let your freshly roasted coffee rest for 12–36 hours before cupping to truly appreciate its potential.
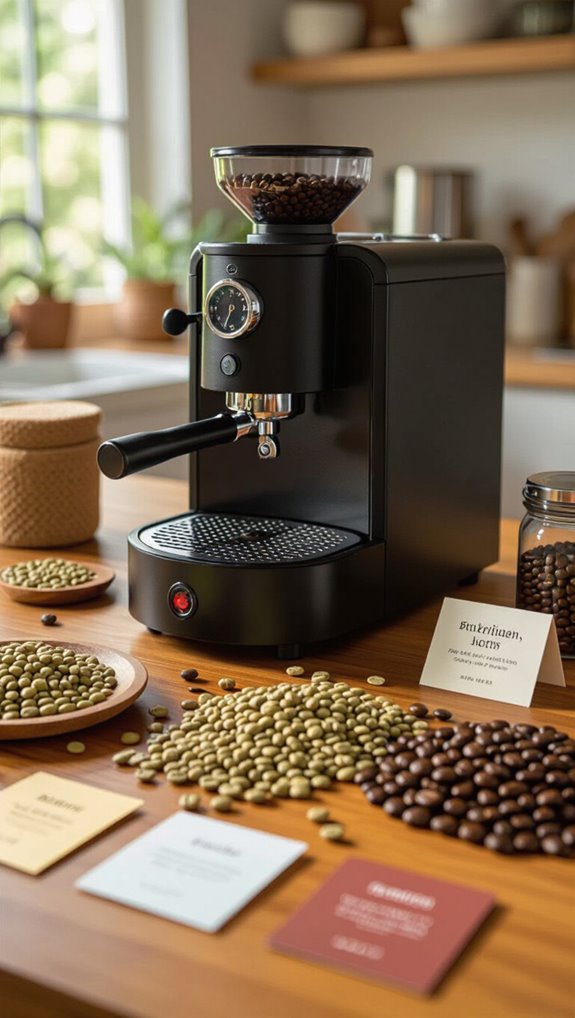
What equipment to roast coffee at home
Home coffee roasting demands the right equipment, and you’ll find options ranging from budget-friendly DIY methods to professional-grade machines.
Your first home roaster might be a simple popcorn popper or stovetop skillet, perfect for experimenting with small batches. As you gain confidence, consider air or drum roasters that offer more consistent heat and better batch control.
Essential accessories include a precise scale, stopwatch or roast-logging app, and a cooling fan.
Whether you’re roasting 50g or 500g, invest in heat-resistant gloves and a thermometer to track your roasting progress. Start simple, learn, then upgrade your setup.
Popular roast levels and flavor notes
Though coffee roasting might seem complex, grasping roast levels is your gateway to unlocking incredible flavor profiles. When beans start their browning stage, development choices dramatically transform taste. Light roast preserves origin brightness, while medium roasts balance acidity and body. As beans progress through first crack to second crack, flavors evolve from citrusy and floral to caramel and nutty.
| Roast Level | Flavor Profile |
|---|---|
| Light Roast | Bright, Citrus, Floral |
| Dark Roast | Smoky, Bitter, Bold |
| Medium Roast | Balanced, Nutty, Sweet |
Understanding these nuances helps you craft your perfect cup.
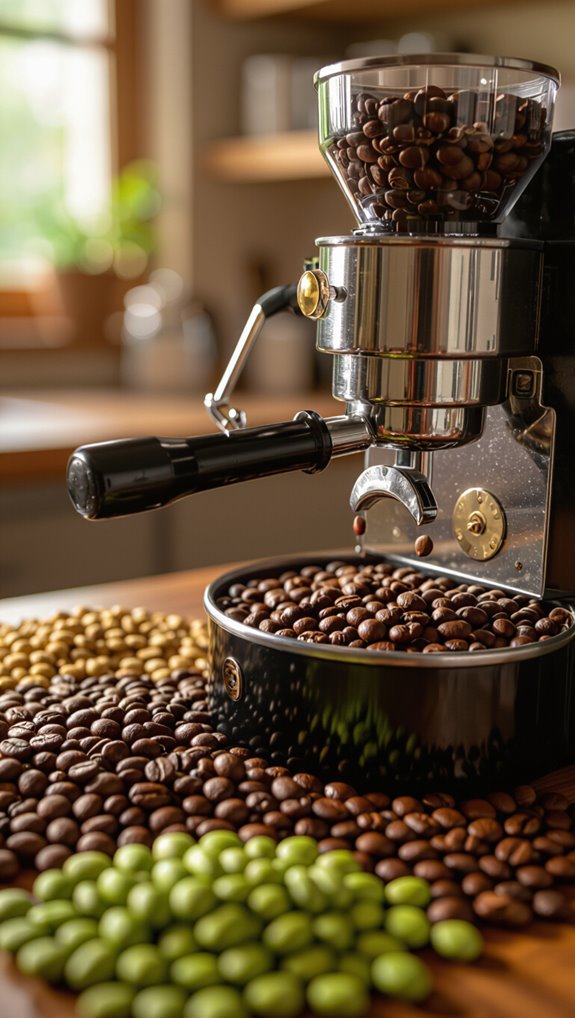
Choosing green beans by origin flavors
From the misty highlands of Ethiopia to the lush valleys of Colombia, green coffee beans carry distinctive flavor signatures that’ll transform your home roasting experience. Origin, processing, and altitude dramatically shape each bean’s unique flavor profile:
- Ethiopian beans dazzle with floral, citrusy notes
- Kenyan coffees burst with bright blackcurrant acidity
- Washed processing creates clean, transparent flavor expressions
- Natural processing yields jammy, intense fruit characteristics
Light roasts preserve these delicate origin traits, letting altitude-grown, dense beans showcase their incredible complexity. By grasping how origin influences flavor, you’ll select green beans that match your taste preferences and elevate your home roasting game.
Safety, ventilation, and smoke control tips
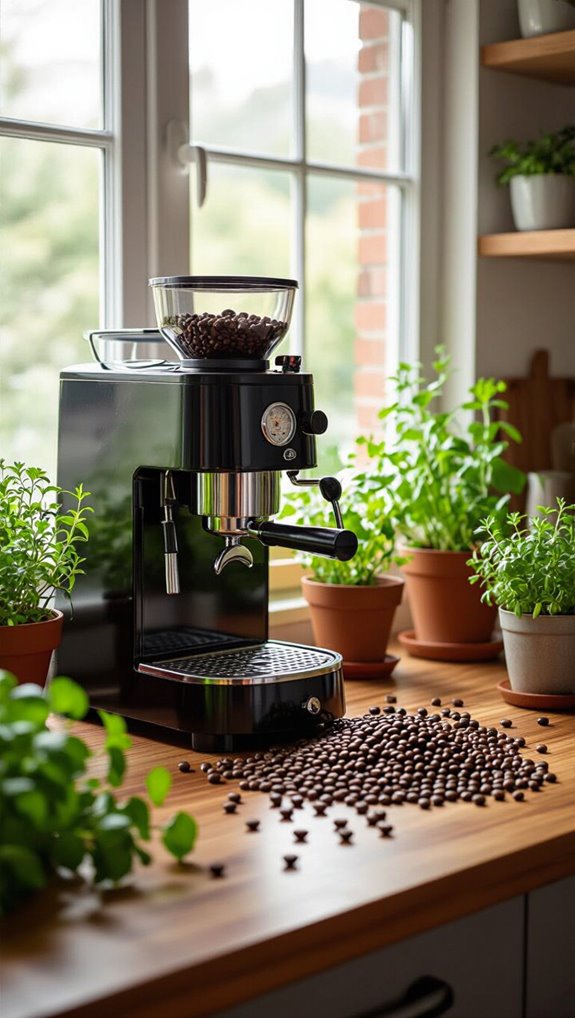
Because coffee roasting generates significant heat and smoke, prioritizing safety and proper ventilation isn’t just recommended-it’s essential.
Roast in a well-ventilated area like a garage or under a powerful range hood to manage smoke and volatile compounds. Use an exhaust fan or open windows, and consider a portable air purifier with HEPA and activated carbon filters to reduce particulates and odors.
Always keep a fire extinguisher nearby and never leave your roast unattended.
Clean chaff traps and vents regularly to prevent buildup that increases smoke and fire risk. Monitor indoor air quality, especially when using charcoal or propane burners.
How long to roast coffee at home
When diving into home coffee roasting, timing is everything-most roasts take between 8 and 14 minutes, and grasping this crucial window can transform your beans from green to perfectly developed.
Key roast timing insights:
- Hit First Crack around 7–9 minutes for ideal light-medium profiles
- Target Development Time Ratio between 15–25% of total roast time
- Adjust roast length based on batch size and preheat temperature
- Cool beans immediately to prevent unwanted flavor darkening
Precise timing and immediate cooling are the secret to unlocking your beans’ full potential, ensuring a consistently delicious home-roasted coffee experience.
Why is my roast uneven or grassy
Ever wondered why your home-roasted coffee looks like a patchwork of colors and tastes disappointingly grassy? Uneven roast and underdevelopment often stem from poor technique.
Small batch sizes, inconsistent airflow, and insufficient preheat can derail your roasting process. Pay close attention to first crack timing and development, aiming for 20-25% roast duration post-crack to ensure proper Maillard reactions.
Avoid overfilling your roaster, which creates thermal inconsistencies. Move beans constantly, use forced air if possible, and don’t rely solely on temperature probes.
Track your roast logs, experiment with moderate preheat, and you’ll soon craft more balanced, flavorful beans.
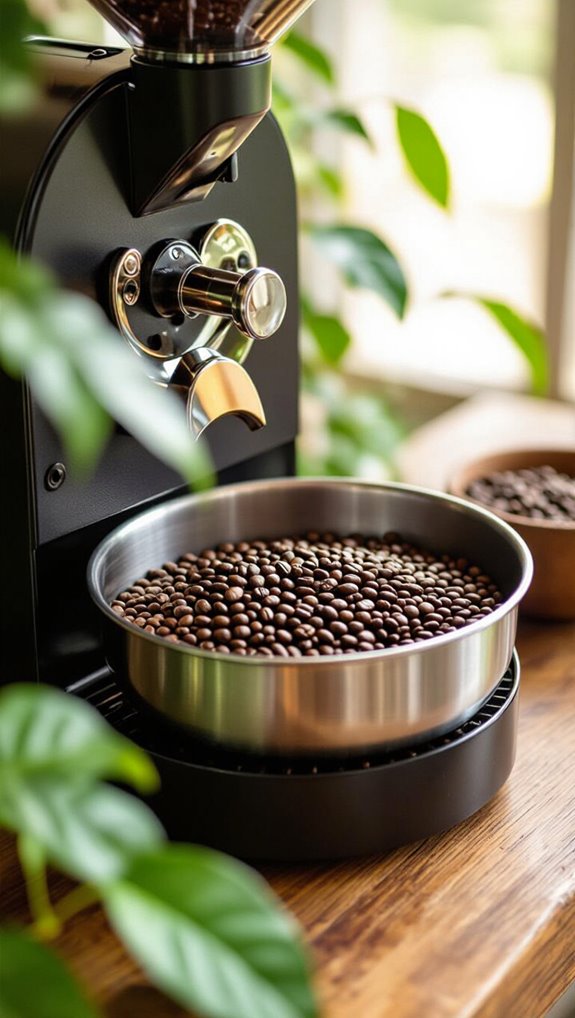
How do I cool and store beans
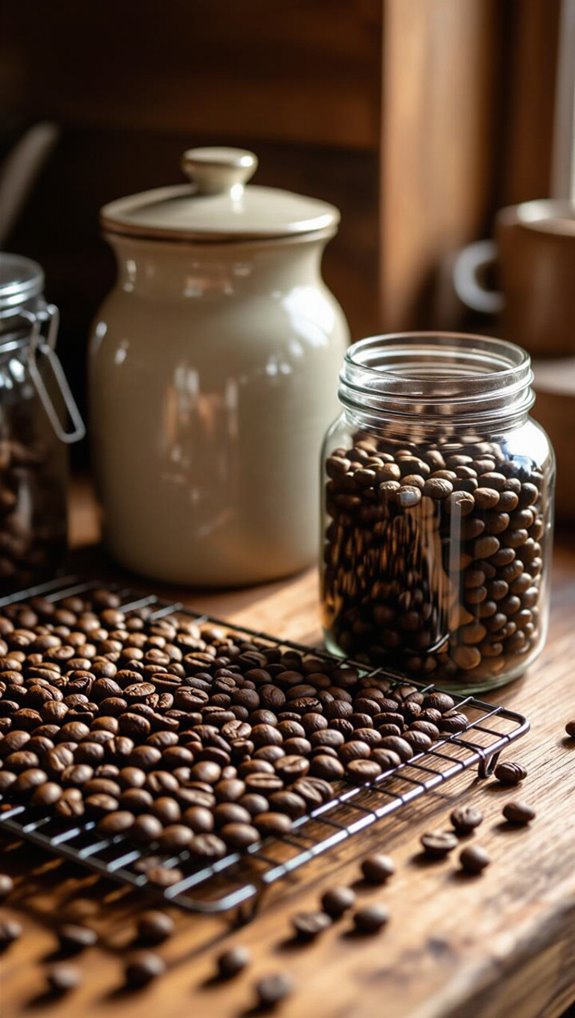
After pulling your beans from the roaster, you’ll want to cool them down quickly and correctly to lock in that perfect flavor profile. Cooling stops the roasting process and removes chaff, preserving your hard-earned flavor.
Key bean cooling and storage tips:
- Use a fan and shallow perforated tray to cool beans for 2–4 minutes
- Let beans degass at room temperature for 12–36 hours
- Store in an opaque, airtight container away from heat and moisture
- Track your roast date and aim to use within 2–4 weeks
Pro tip: Never freeze daily-use beans to maintain optimal taste.
Comparing home roasters, poppers, oven methods
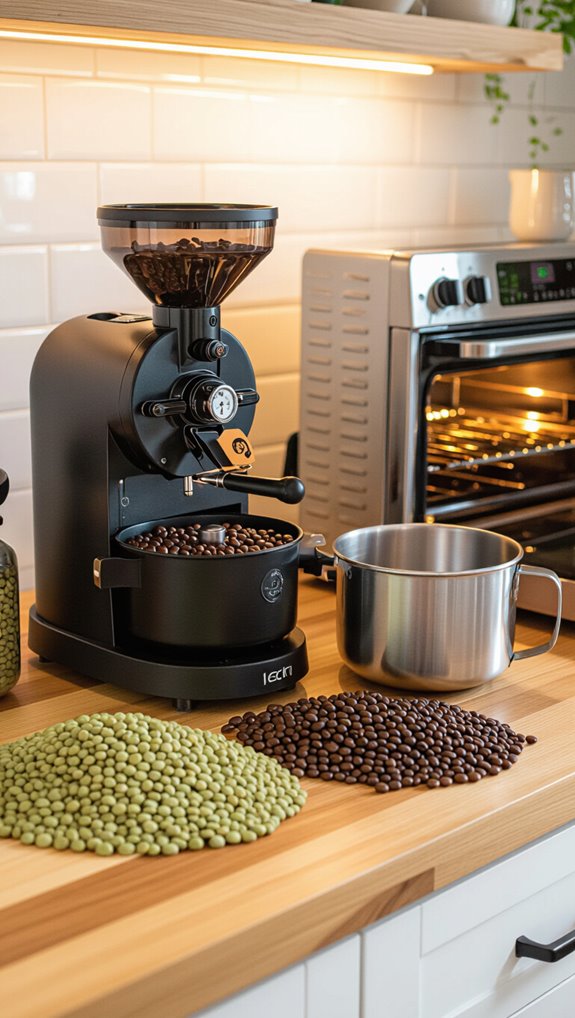
Dive into home coffee roasting by exploring the most popular roasting methods that’ll transform your kitchen into a personal café. Air roasters like popcorn poppers work great for small 50–250g batches, offering quick 8–12 minute roasts with strong airflow.
Drum roasters provide more control, handling 200–1000g batches over 14–20 minutes with smoother roasting. Oven roasting is cheapest but least consistent, risking uneven roasts and burning.
Consider your batch size, desired roast control, and ventilation needs. For beginners, start with an air popcorn popper to learn roasting basics, then upgrade to a drum roaster for more precise, reproducible results.
Frequently Asked Questions
Can I Roast Coffee at Home if I Have No Prior Experience?
Yes, you can definitely roast coffee at home! I’ll start with a simple popcorn popper or skillet method. It’s easy to learn, and with practice, you’ll quickly develop the skills to create delicious, freshly roasted beans.
How Much Money Will I Save by Roasting My Own Coffee?
I’ll save around 30-50% compared to buying pre-roasted beans. My initial equipment investment is about $150, but I’ll quickly recoup that cost through cheaper green coffee beans and the satisfaction of roasting my own.
Is Home Coffee Roasting a Time-Consuming Hobby or Quick Process?
I’ll be honest: home coffee roasting isn’t a quick process. It takes about 10-15 minutes per batch, plus setup and cooling time. You’ll need patience, but the fresh, aromatic results are totally worth the effort and learning curve.
What Are the Biggest Mistakes Beginners Make When Roasting Coffee?
I’ve seen beginners burn their beans, use inconsistent heat, ignore first and second crack stages, and forget to cool quickly. These rookie errors can ruin your entire batch and waste expensive green coffee beans.
Can I Roast Coffee Without Specialized Equipment Like a Roaster?
Yes, you can roast coffee at home using alternative methods like a popcorn popper, skillet, or even an oven. While these aren’t professional roasters, they’ll help you start experimenting with home coffee roasting techniques.
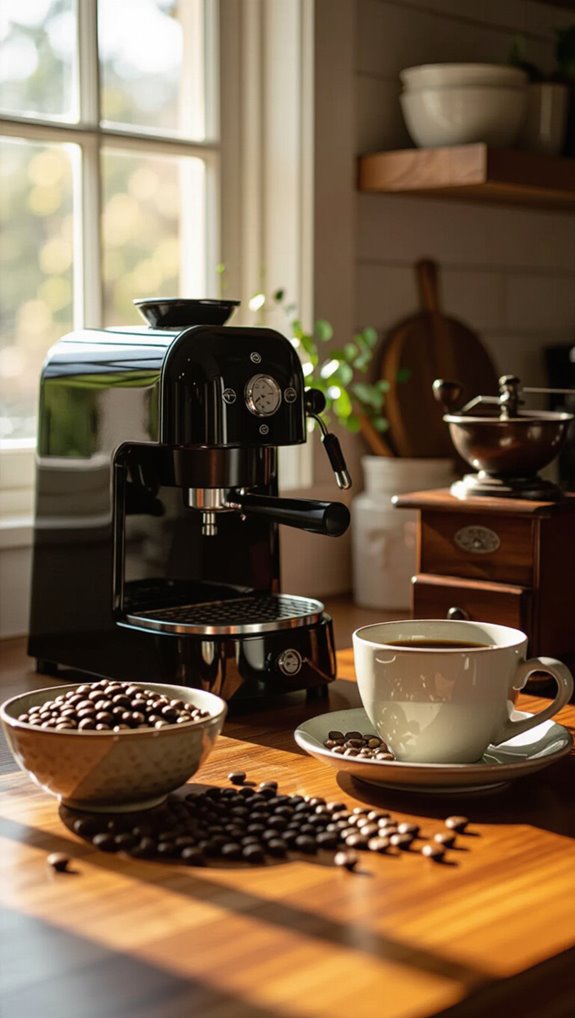
In Conclusion
Roasting coffee at home transforms your brewing experience with unparalleled freshness and flavor control. You’ll save money, discover incredible taste profiles, and join a passionate community of home roasters. Don’t get discouraged by initial mistakes-each batch teaches you something new about how to roast coffee beans effectively in your own kitchen.
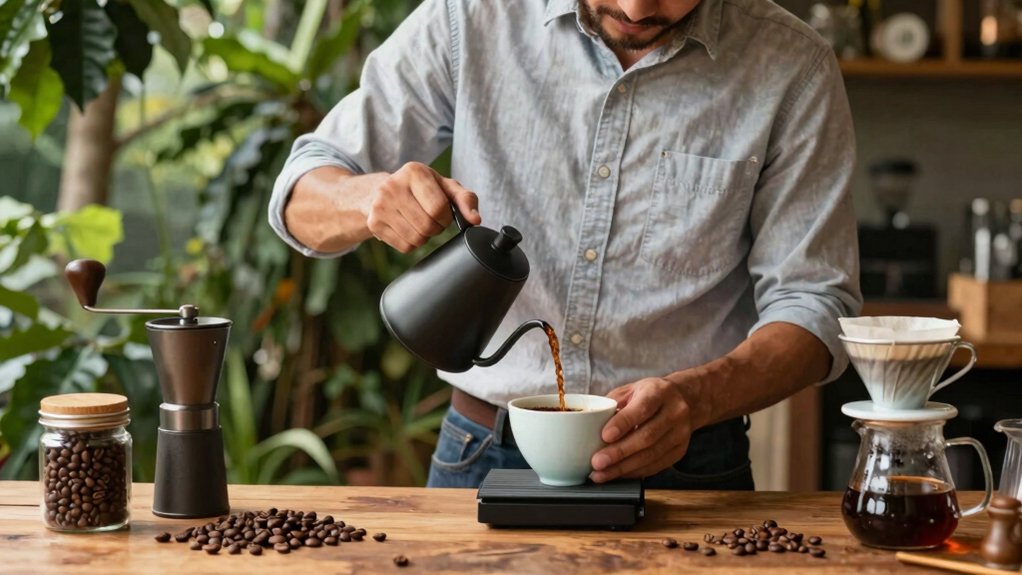
Experiment with different techniques, take detailed notes, and enjoy the journey of crafting your perfect roast. With practice, you’ll develop skills that elevate your morning cup from ordinary to extraordinary. To complement your newly roasted beans, consider checking out our coffee machine reviews to explore smart, well-reviewed brewing options that will showcase your home-roasted coffee at its finest.
The combination of freshly roasted beans and the right brewing equipment creates an unbeatable foundation for exceptional coffee. Your dedication to learning this craft will reward you with flavors and aromas that simply can’t be matched by store-bought alternatives.