
Have you ever wondered how to create that perfect, velvety milk foam for your home-brewed coffee? If you’ve struggled with watery bubbles or flat, lifeless milk, you’re not alone. Making café-quality microfoam at home can feel intimidating, but it doesn’t have to be.
The good news is that creating silky, professional-grade milk foam is absolutely achievable with the right approach. Whether you’re working with a steam wand, a handheld frother, or even a French press, the principles remain the same.
In this guide, we’ll walk you through everything you need to know about milk foam-from choosing the right milk and equipment to mastering essential techniques that baristas use every day. By the end, you’ll have the knowledge and confidence to craft beautiful microfoam that transforms your coffee into something truly special.
Table of Contents
What Is Milk Foam and Why It Matters

Magic happens when milk meets steam, transforming ordinary liquid into a cloud-like substance that’s the heart and soul of great coffee drinks. Milk foam isn’t just a pretty topping; it’s a delicate science of proteins, air bubbles, and temperature. Different milk types, with their varying protein contents like 2% milk at 3.3%, can significantly impact foam quality and volume.
Those millions of tiny bubbles suspended in milk create the creamy texture that makes lattes and cappuccinos irresistible. The secret? Milk proteins that unfold when heated, creating a protective film around air bubbles.
Whether you’re a home barista or coffee lover, grasping milk foam elevates your brewing game from basic to brilliant.
How to Make Perfect Milk Foam at Home

To make perfect milk foam at home, you’ll need to select the right milk-whole milk works best-and choose a frothing method that suits your equipment and skill level. Milk temperature between 140-155°F is crucial for achieving optimal foam consistency. My go-to techniques range from using a hand blender to a dedicated milk frother, each offering unique advantages for creating that creamy, silky microfoam that transforms an ordinary coffee into a café-quality beverage. Whether you’re a latte lover or cappuccino enthusiast, mastering milk foam is about grasping temperature, technique, and the subtle art of incorporating air into milk without creating large, unstable bubbles.
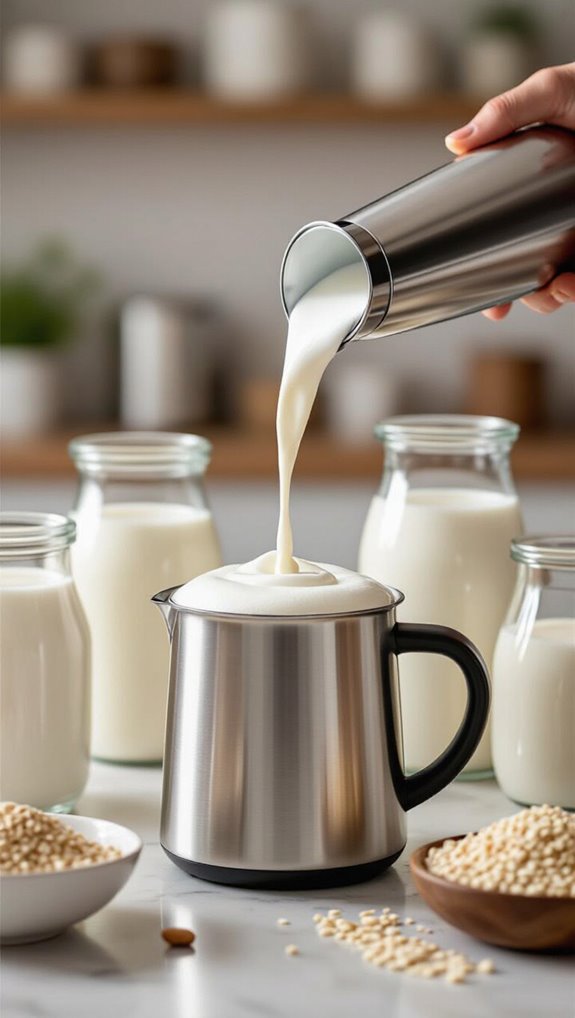
Choose Your Milk
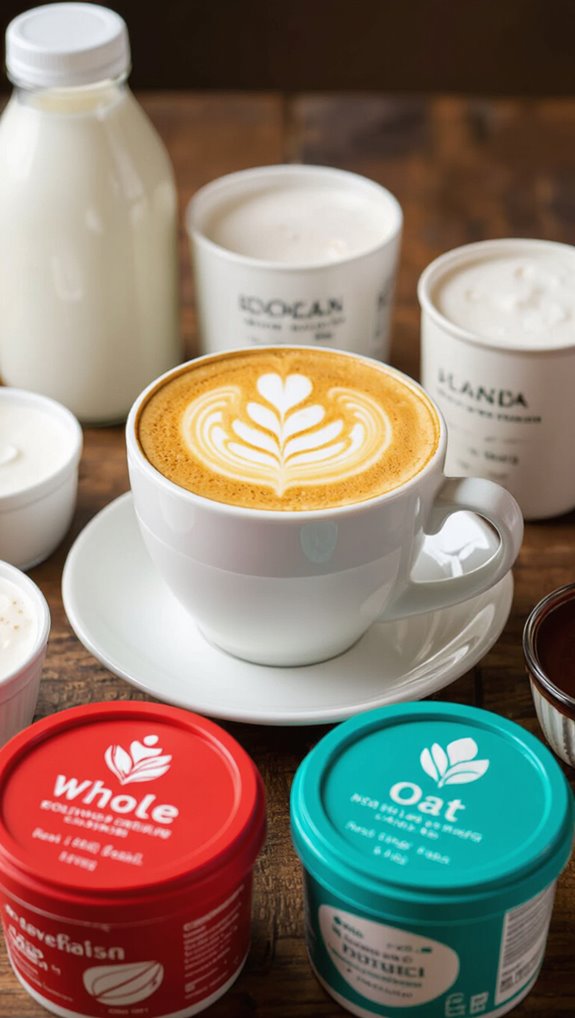
Choosing the right milk can make or break your homemade cappuccino or latte, transforming an ordinary brew into a creamy, luxurious experience. Whole milk reigns supreme for its rich fat content, creating thick, stable foam that’ll impress even the most discerning coffee lover.
If you’re watching calories, semi-skimmed milk offers a decent compromise, balancing protein and fat for a respectable froth. Tetra pack milk provides a consistent, high-protein option perfect for home espresso enthusiasts.
Non-dairy enthusiasts aren’t left out. Oat milk (especially Barista Edition) and almond milk can create surprisingly good foam.
The key? Fresh, cold milk and proper technique make all the difference in achieving that perfect, silky-smooth texture.
Gather Your Equipment
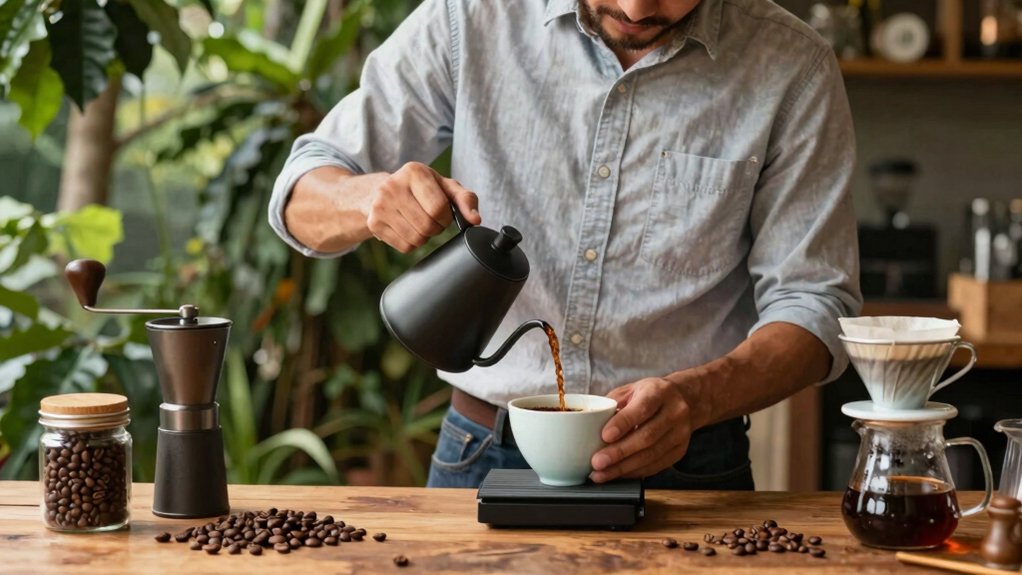
Before mastering milk foam, you’ll need to equip yourself with the right tools that transform an ordinary coffee setup into a home barista’s professional playground. A quality espresso machine with a steam wand is your primary investment, ensuring precise milk frothing.
Complement this with a stainless steel pitcher featuring a narrow spout for controlled pouring and latte art. Don’t forget a digital thermometer to monitor milk temperature between 140°F and 155°F – the sweet spot for perfect foam.
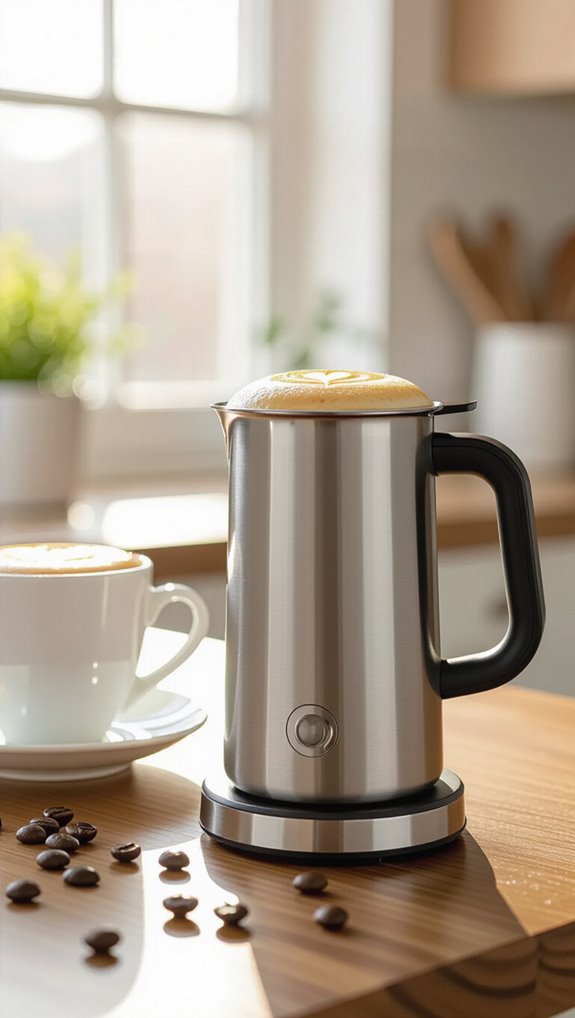
Alternative tools like electric frothers can work too, offering flexibility for home enthusiasts.
Follow These Steps
Mastering milk foam at home isn’t as complicated as you might think – with the right technique, you’ll be creating café-quality microfoam in no time.
Follow these key steps to elevate your home coffee game:
- Choose Cold, Fresh Milk: Start with chilled whole or non-fat milk for the best frothing potential.
- Position Your Steam Wand: Submerge the wand initially to heat the milk, then lower it to create a gentle hissing sound that introduces air.
- Monitor Temperature: Keep the milk between 150°F and 155°F, using a thermometer to prevent scorching.
The result? Velvety, marshmallowy microfoam that transforms your homemade coffee.
What Makes Some Milk Foam Better Than Others
Dive into the science of milk foam, and you’ll discover that not all foams are created equal. The secret lies in fat content, protein levels, and temperature.
Whole milk’s higher fat globules create creamier, more stable foam, while proteins form a protective network around air bubbles. Temperature matters too-different milk types perform best at specific heat ranges.
UHT and pasteurized milks offer more consistent results, with smaller, more uniform bubbles contributing to lasting foam. Whether you’re a home barista or coffee enthusiast, grasping these factors will elevate your milk-frothing game.
Can You Make Milk Foam Without Special Equipment
With a bit of creativity and common kitchen tools, you can absolutely create delicious milk foam without investing in expensive coffee equipment.
Here are three easy methods:
- Jar Shake: Fill a jar halfway with warm milk, secure the lid, and shake vigorously for 30-60 seconds until frothy.
- Whisk Magic: Use a hand whisk or electric mixer to briskly beat heated milk for 1-2 minutes, creating creamy foam.
- Pump Action: A manual pump frother allows you to create smooth milk foam by pumping hot milk for 10-15 seconds.
Each technique transforms your home coffee experience with minimal effort and maximum deliciousness.
The Difference Between Milk Foam and Steamed Milk

After learning how to create milk foam at home with simple techniques, you’ll want to understand the nuanced world of milk preparation in coffee drinks.
Steamed milk and frothed milk might seem similar, but they’re distinctly different. Steamed milk features tiny, silky microfoam that blends seamlessly with espresso, creating a creamy texture ideal for lattes.
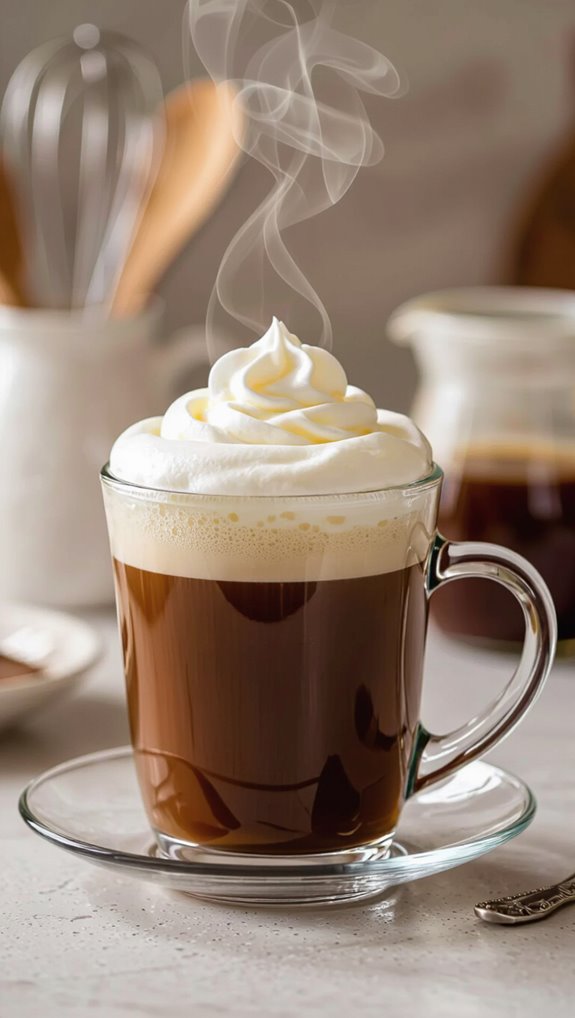
Frothed milk, in contrast, produces a drier, more voluminous foam with larger bubbles, perfect for cappuccinos.
The key differences lie in preparation technique, bubble size, and how each interacts with coffee, transforming your home brewing experience.
Why Does Your Milk Foam Keep Collapsing Quickly
Milk foam frequently collapses because of complex interactions between milk’s molecular structure and environmental factors, frustrating even experienced home baristas. Grasping why this happens can help you create more stable, delicious foam.
3 Key Reasons Foam Breaks Down:
- Temperature matters – overheating milk above 65°C destroys protein structures
- Fat content disrupts bubble integrity, with whole milk being more prone to collapse
- Improper steaming technique introduces large bubbles that quickly merge and burst
Mastering milk foam requires precision, patience, and practice. Your next cappuccino depends on it.
Best Milk Types for Creating Thick Creamy Foam
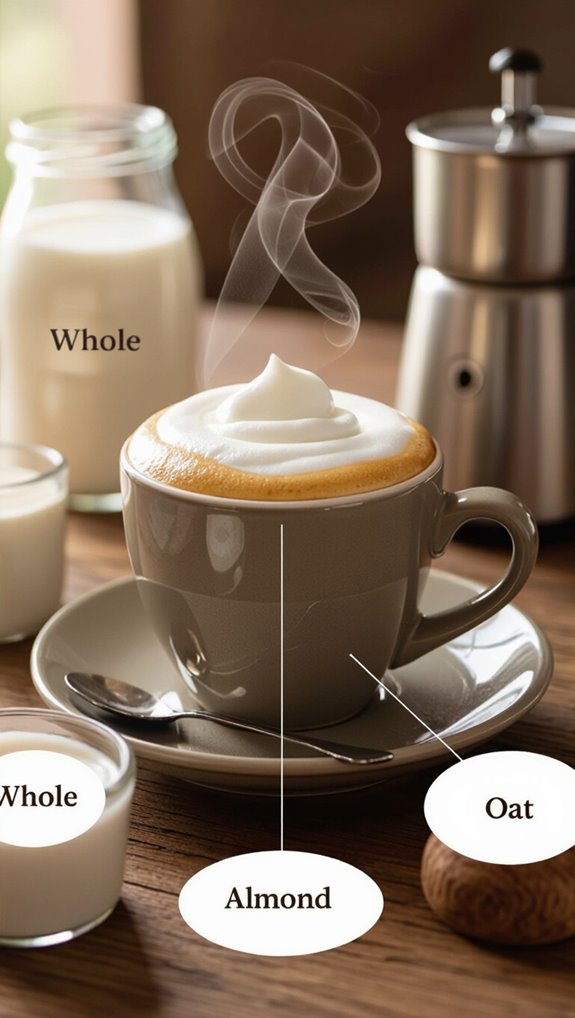
Unlock the secret to irresistible milk foam by selecting the right milk type, which can transform your home-brewed coffee from ordinary to extraordinary.
Whole milk reigns supreme with its 3.25–4% fat content, creating velvety microfoam that’s a barista’s dream. For a lighter option, 2% milk delivers smooth texture with fewer calories. Skim milk produces voluminous but less stable foam, perfect for traditional cappuccinos. Plant-based alternatives like oat and soy milk offer promising results, though they require more finesse. Avoid rice milk, coconut milk, and heavy cream, as they’ll sabotage your foam’s potential and leave you with a disappointing brew.
How to Fix Common Milk Foam Problems Fast

Despite selecting the perfect milk for your brew, even seasoned coffee enthusiasts encounter frustrating foam failures that can turn a promising cappuccino into a disappointing disaster.
Quick fixes can rescue your milk frothing technique and elevate your home barista skills:
- Bubbly Foam: Increase whirlpool action during steaming to break down large bubbles into creamy microfoam.
- Rapid Foam Collapse: Switch to milk with higher protein content or try a barista-specific milk blend.
- Inconsistent Texture: Slow down air injection at the start of steaming to create fine, velvety foam.
Master these techniques, and you’ll transform foam fails into café-quality creations.
Using Milk Foam for Beautiful Latte Art Designs

Transform your cappuccino from a simple beverage into a stunning visual masterpiece by mastering the art of latte design-a skill that combines precision, technique, and creativity.
Perfect milk foam is your canvas: aim for a texture like wet paint with microscopic bubbles that hold shape yet flow smoothly.
Start by steaming milk to 140-150°F, creating microfoam that’s silky and consistent.
Practice basic techniques like center pouring for hearts, side-to-side motion for rosettas, and gentle pitcher movements.
Frequently Asked Questions
Is Milk Foam Safe for People With Lactose Intolerance?
Milk foam isn’t always safe for me with lactose intolerance. I can use lactose-free milk, plant-based alternatives, or take enzyme supplements to enjoy it without triggering uncomfortable digestive symptoms.
How Long Can I Store Milk Foam Before It Loses Quality?
I recommend using milk foam immediately after frothing. It loses quality within 10-15 minutes, and refrigeration won’t help. You can’t restore its texture, so always prepare just the amount you’ll use right away.
Can Children Learn to Make Milk Foam at Home?
Yes, children can learn to make milk foam at home! With adult supervision, they’ll enjoy simple techniques using a jar or whisk. It’s a fun way to develop motor skills and creativity while learning a cool culinary skill.
Does Milk Foam Temperature Affect Its Taste and Texture?
Yes, milk foam temperature dramatically impacts taste and texture. I’ve learned that between 65-68°C, you’ll achieve the most stable foam with peak sweetness and a creamy, rich flavor that won’t taste burnt or bitter.
Are There Any Dairy-Free Alternatives That Create Good Foam?
Oat milk is my top pick for dairy-free foam. Barista blends of oat, soy, and macadamia milk create excellent, stable foam. They’re specifically designed to mimic dairy milk’s texture and performance in lattes and cappuccinos.
In Conclusion
Mastering milk foam doesn’t have to be intimidating-I’ve shown you that with the right techniques, you can easily create barista-quality results at home. Whether you’re wondering how to make milk foam that’s silky and stable or simply looking to elevate your morning latte, these tips will guide you there. I’ve found that consistent practice with proper milk temperature, pitcher angles, and steaming motion makes all the difference.
Your foam journey also depends on having reliable equipment. If you’re ready to invest in quality tools, I encourage you to check out our coffee machine reviews where we’ve tested and compared top-rated models with excellent milk frothing capabilities. With the right technique and a solid machine, you’ll be creating café-worthy drinks that’ll impress everyone at your breakfast table.