


Ever wondered why your homemade lattes never quite match the silky, professional quality you get at your favorite coffee shop? The secret lies in proper milk steaming technique-a skill that transforms ordinary milk into luxurious microfoam with the perfect velvety texture.
Most home coffee enthusiasts struggle with creating that coveted microfoam, often ending up with either flat milk or large, unworkable bubbles. The good news? You don’t need expensive equipment or years of training to master this fundamental barista skill.
In this guide, I’ll walk you through the complete process of steaming milk at home, covering everything from choosing the right milk and equipment to achieving that perfect glossy finish. By the end, you’ll have all the techniques needed to create café-quality microfoam that’s ideal for latte art and elevating your daily coffee routine.
Table of Contents
How to steam milk at home
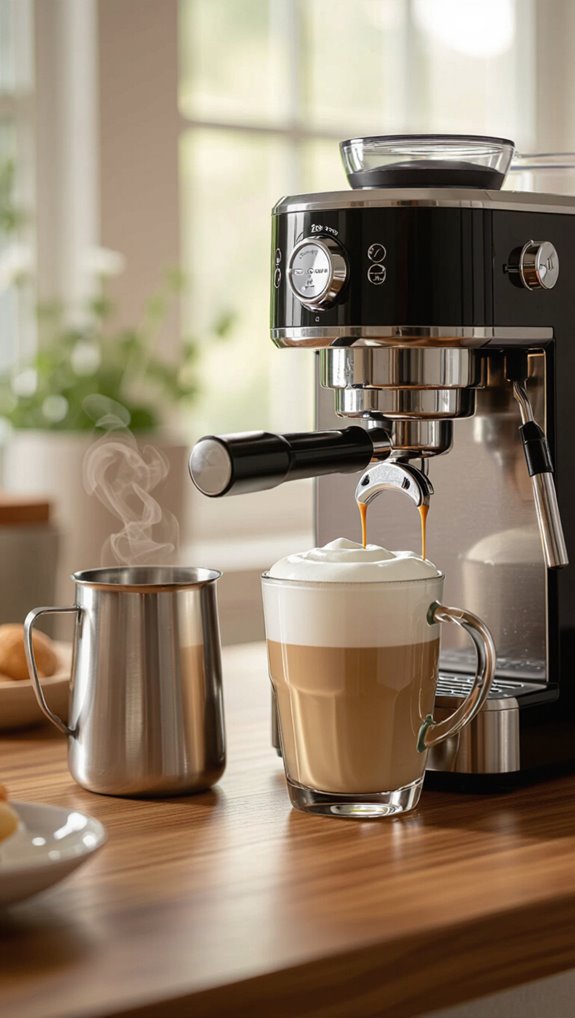
Steaming milk at home requires just a few key ingredients, a reliable espresso machine or steam wand, and some practice to master the technique.
You’ll need fresh, cold milk (whole milk works best), a metal milk pitcher, and an espresso machine with a functional steam wand to create that perfect, velvety microfoam.
I’m going to walk you through the essential equipment and step-by-step instructions to help you transform ordinary milk into a creamy, silky base for your favorite espresso drinks.
Ingredients
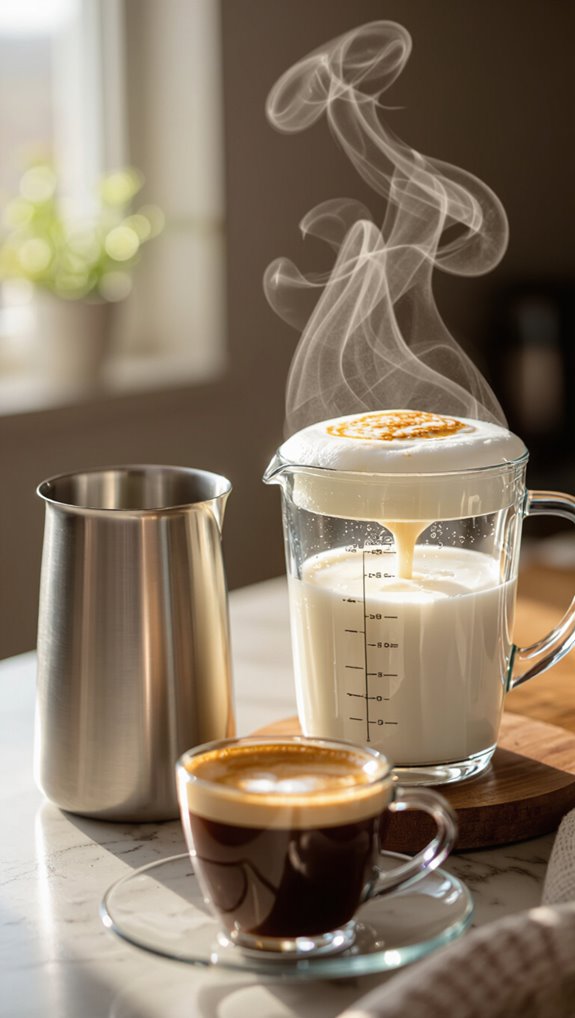
The secret to a sublime latte or cappuccino starts with selecting the right milk. Fresh whole milk (3.5–4% fat) creates the most consistent, glossy microfoam. For home baristas, I recommend a cold milk straight from the fridge to maximize steaming time.
| Milk Type | Fat Content | Best For |
|---|---|---|
| Whole Cow’s Milk | 3.5–4% | Traditional Texture |
| Barista-Style Oat | 2–3% | Non-Dairy Creaminess |
| Practice Water | N/A | Technique Training |
Pro tip: Before steaming real milk, practice with water and a drop of dish soap. This helps you master wand positioning and whirlpool control without wasting ingredients. Non-dairy lovers should choose barista-style alternatives with added stabilizers for optimal foam.
Equipment
Now that you’ve selected the perfect milk, let’s gear up with the right equipment to transform your home coffee game. Your steam wand is your secret weapon, so choose a machine with a single or three-hole tip that screws off for easy cleaning.
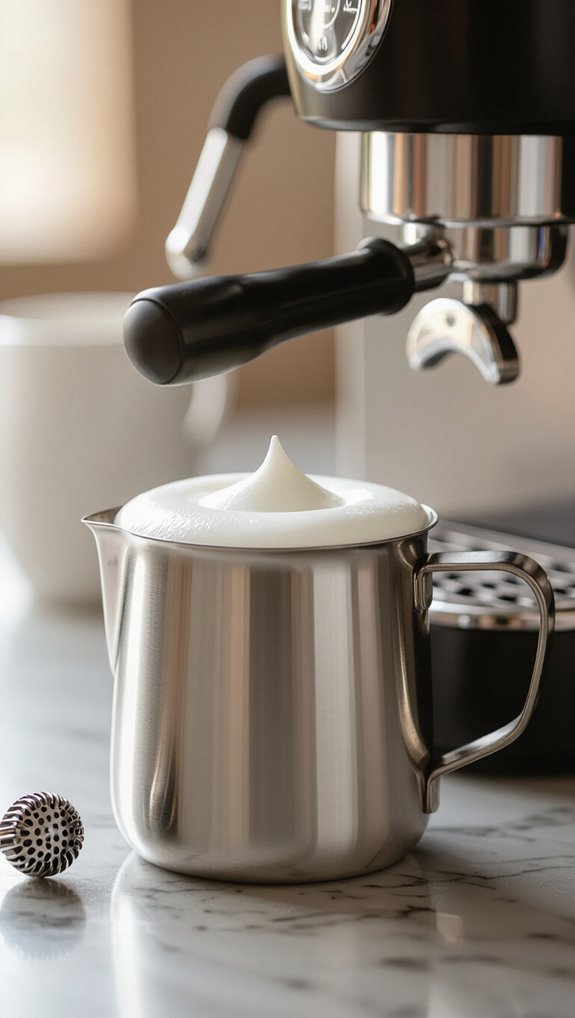
Grab a stainless-steel milk jug sized 400–500 ml, but limit milk to ~200 ml for better control. Don’t forget a thermometer-it’ll help you nail that perfect 60–65°C sweet spot.
Insider tip: Pre-purge your steam wand to maximize pressure and create silky, professional-quality microfoam every time.
Instructions
Because perfecting milk steaming takes practice, I’ll walk you through the essential techniques that’ll transform your home espresso drinks from amateur to barista-quality.
Start by using water to practice wand positioning, then take a closer look at milk volume-aim for 150-200 ml in a 400-500 ml jug.
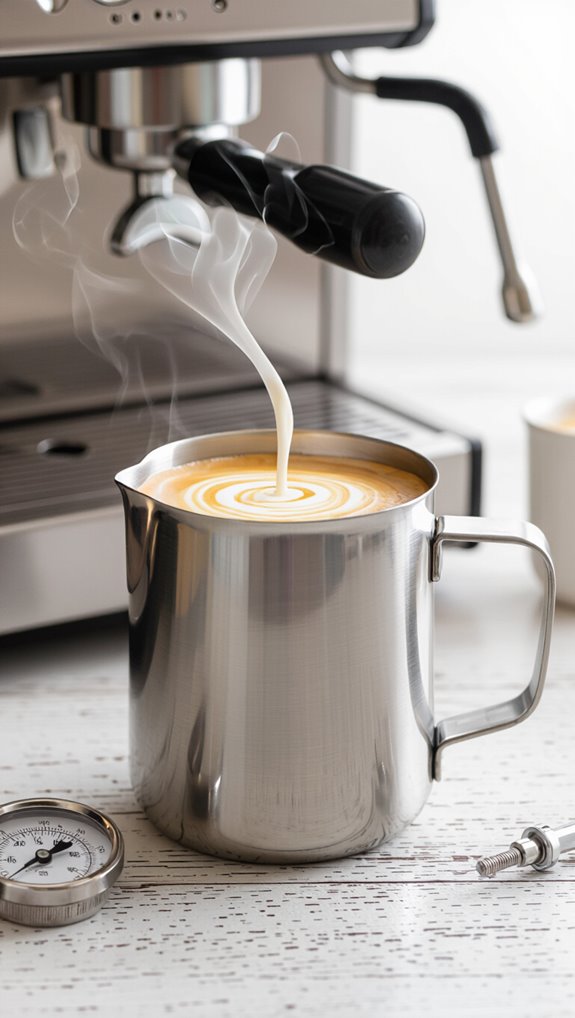
Create a gentle whirlpool by tilting the steam wand, introducing microfoam with short air bursts.
Submerge the tip to maintain the vortex, heating until the jug is too hot to touch.
Tap and swirl to polish the milk into a glossy, seamless texture that’ll elevate your coffee game.
What milk works best for steaming
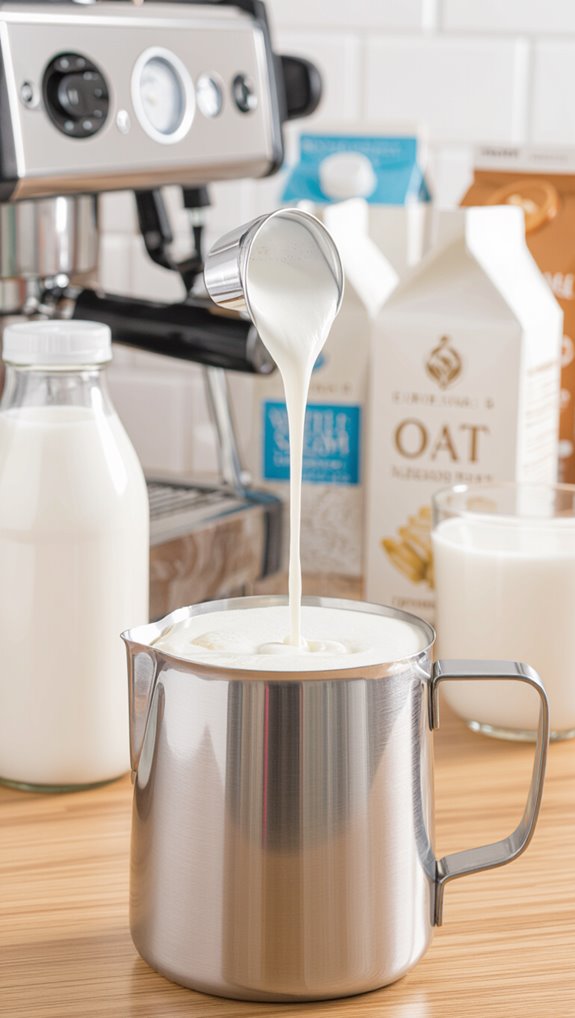
Dive into the world of milk steaming, and you’ll quickly discover that not all milks are created equal. Whole cow’s milk (3.5–4% fat) reigns supreme, creating silky microfoam with its perfect protein-to-fat ratio.
Next time you’re steaming, opt for fresh, cold milk straight from the fridge to maximize your foam potential. Barista-formulated plant milks, especially oat blends, offer fantastic alternatives if you’re skipping dairy.
Handy hint: If your foam separates or looks wonky, try a different milk brand – seasonal variations can impact steaming performance. Experiment and find your perfect milk match.
Step by step with espresso machines

Since mastering milk steaming requires practice and precision, I’ll walk you through the essential steps for using an espresso machine at home. My key tips will help you create silky microfoam every time.
| Step | Action | Tip |
|---|---|---|
| Prep | Purge Wand | Clean tip first |
| Position | Angle Tip Down | Create steady spin |
| Technique | Gentle Air Kisses | Introduce small foam |
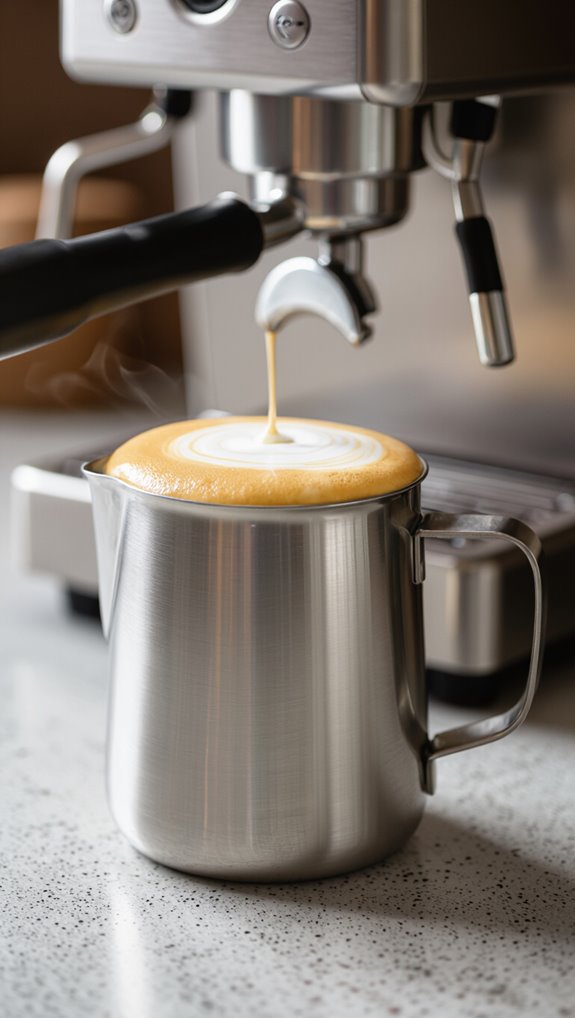
Start by positioning the steam tip just below the milk surface, angling the wand slightly. Use quick “kisses” to introduce small foam amounts, then submerge the tip. For home machines, use smaller milk volumes around 150-200 ml to control the whirl. Stop steaming when the jug becomes too hot to hold, typically around 60-65°C.
Can I froth milk without steamer

Milk frothing isn’t limited to professional espresso machines-you can easily whip up creamy foam right in your kitchen.
I’ve discovered several clever methods that don’t require expensive equipment. A handheld electric milk frother quickly aerates milk, creating fine microfoam in just 15–30 seconds.
Alternatively, try a French press by warming milk and pumping the plunger vigorously.
Even a sealed jar works-shake for 30–60 seconds, then gently heat.
Insider hint: For non-dairy milks, choose barista-style versions like oat or soy, which froth more reliably and maintain a silky texture.
Gear options for steamers wands alternatives
Let’s break down the steamers and wand alternatives that’ll transform your home coffee experience.
Commercial-style steam wands deliver the best microfoam, but they’re expensive.
For home baristas, I recommend automatic milk frothers like the Breville Milk Café, which create consistent textures quickly.
Handheld electric frothers work in a pinch, though they won’t match professional quality.
Stovetop steamers can approximate steam wand results with practice.
Cold-blending methods are convenient but lack the silky texture of live steam.
The key is finding a method that balances ease of use with milk quality.
Milk science for temperature proteins sweetness
Grasping milk’s molecular magic transforms your home cappuccino from good to extraordinary.
Comprehending protein behavior during steaming reveals why temperature matters so much. Whey proteins start dancing around 60°C, creating stable microfoam that gives your drink a silky texture.
Fat content plays a crucial role too-whole milk’s 3.5–4% fat helps create smaller, more consistent bubbles that make your foam dreamy and rich.
But be careful: overheating above 70°C ruins everything, causing protein breakdown and dry, sad foam.
Each dairy’s unique protein composition means you’ll need to adjust your technique slightly for perfect results.
Microfoam techniques for latte art beginners
Aspiring home baristas often find latte art intimidating, but mastering microfoam isn’t as complex as it seems.
The secret is technique: start with cold whole milk in a partially filled jug, position the steam wand at a slight angle, and create a smooth vortex. Use short, gentle air bursts to introduce tiny bubbles, then submerge the tip to heat smoothly. Stop steaming when the jug feels uncomfortably hot-around 60–65°C-to ensure a glossy, velvety texture perfect for creating beautiful designs. With practice, you’ll transform ordinary milk into silky art.
Why is my milk not silky
Though achieving silky milk might seem like a barista’s black art, grasping why your foam falls flat is the first step to microfoam mastery.
Your milk’s texture depends on several critical factors: temperature, steam technique, machine pressure, and milk quality. Overheating milk breaks proteins, creating dry, bubbly foam instead of glossy microfoam. Incorrect steam wand positioning prevents proper aeration, while low steam pressure can’t generate the necessary spin. Whole milk typically produces the creamiest results, and a clean steam tip is crucial for smooth texture. Mastering these elements transforms home cappuccinos from mediocre to magnificent.
Frequently Asked Questions
What Are the Steps for Steaming Milk?
I fill my jug with cold milk, position the steam tip just below the surface, introduce microbubbles with quick “kisses,” then create a spinning vortex while heating until the jug’s too hot to hold.
How to Steam Milk at Home in the Microwave?
I heat milk in a microwave-safe container for 20-30 seconds, swirling between bursts until it’s 60-65°C. Then I use a frother or shake vigorously in a sealed jar to create creamy, velvety microfoam for my perfect coffee drink.
How to Steam Silk Milk?
I don’t recommend steaming Silk milk, as plant-based milk doesn’t foam like dairy. If you want a frothy alternative, use a specialized plant milk frother or cold foam technique designed for non-dairy milks like Silk.
How to Make Silky Milk at Home?
I create silky milk by using whole milk, positioning the steam wand just below the surface at an angle, making quick air “kisses”, then submerging and spinning until the jug’s too hot to hold, creating perfect microfoam.
In Conclusion
Mastering how to steam milk at home takes practice, but with the right technique and temperature control, you’ll soon be creating café-quality microfoam in your own kitchen. Whether you’re using an espresso machine’s steam wand or exploring alternative methods, remember that consistency comes from focusing on the fundamentals: cold whole milk, proper wand positioning, and stopping around 60–65°C for that perfect silky texture.
Don’t get discouraged if your first attempts aren’t Instagram-worthy-every professional barista started exactly where you are now. As you develop your skills, you might find that having the right equipment makes all the difference. Check out our coffee machine reviews to explore smart, well-reviewed options that can elevate your home brewing setup and help you achieve that glossy, velvety microfoam perfect for latte art.