Hey there! If you’re thinking about trying your hand at latte art, you might be surprised at how easy it is to get started. With the right ingredients and techniques, you can quickly learn the basics and create beautiful designs in no time.
Perfecting your milk steaming and pouring methods is key, and trust me, it’s more accessible than you might think. So, if you believe you can’t master this skill, give it another thought-a simple path to creating stunning coffee masterpieces is right at your fingertips.
Table of Contents
Key Ingredients for Latte Art

When it comes to making latte art, having the right ingredients is essential. I always opt for fresh whole milk due to its fat content, which helps create that smooth, stable foam we all love. Chilling the milk before steaming gives you a wider window for achieving perfect microfoam.
Next, I make sure to pull a fresh shot of espresso with rich crema. The crema acts as a perfect canvas for my designs, enhancing both flavor and visual appeal. I aim to steam my milk to a temperature between 60-65°C. This keeps it hot without losing that silky texture. Proper technique is also vital to ensure that the milk is aerated correctly for optimal foam quality. Trust me, fresh ingredients make all the difference in your latte art game!
Additionally, using high-quality medium roast espresso beans is recommended for a rich flavor that complements the milk’s creaminess.
Essential Equipment Needed
Creating beautiful latte art goes beyond just having the right ingredients; it also requires the proper equipment.
First and foremost, you’ll need a good espresso machine to brew that perfect shot. Proper extraction time is essential for getting the best flavor. Consider machines like the Breville Bambino Plus Espresso Machine, which boasts a rapid 3-second heat-up time to ensure your espresso is ready quickly.
A milk frother or a machine with a steaming wand is essential for achieving that creamy foam.
Don’t forget a pouring jug for precise milk pouring; it really makes a difference.
High-quality coffee beans are vital, and if you prefer whole beans, a grinder will help you achieve the right consistency.
For added flair, consider investing in an etching tool or a latte art pen.
Specialty cups can enhance your presentation, too.
Always keep a damp cloth handy for quick clean-ups; it’ll save you time and hassle!
Mastering Milk Steaming Technique
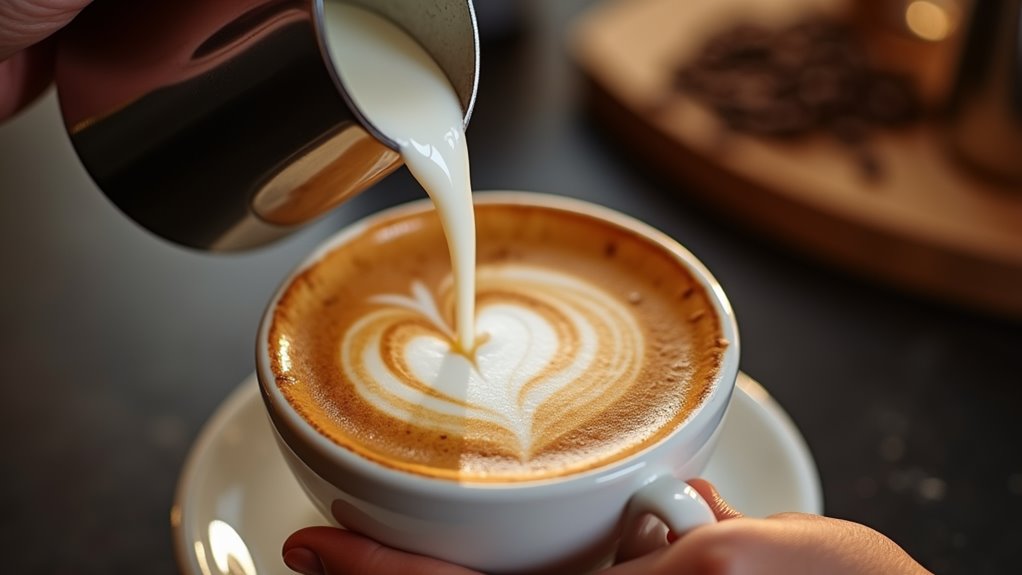
Mastering the milk steaming technique is essential for crafting stunning latte art. Start by filling your jug just below the spout with fresh, cold milk-it really makes a difference.
Before you steam, purge the steam wand to guarantee you’re getting fresh steam. Position the wand just below the surface to introduce air, and listen for that gentle hissing sound. This means you’re aerating correctly.
Keep the jug spinning to create a smooth vortex and break down those big bubbles into microfoam. Aim for a temperature between 65-70 degrees Celsius-hot, but comfortable to hold. Remember that the quality of milk significantly impacts the final steamed product, so choose wisely for the best results.
Practice is key. Experiment with different angles and methods to find what works best for you. Enjoy the process, and don’t be afraid to make it your own!
Basic Pouring Techniques
Getting into the flow of basic pouring techniques is essential for achieving beautiful latte art. Start by holding your pitcher 5-10 cm above the cup, keeping your arms relaxed and elbows down. Tilt the cup inward to help the milk flow smoothly. Begin pouring from a height of 4-5 inches to blend the espresso and milk. Aim for the center to avoid splashes, and keep a steady stream.
As you pour, remember that proximity to the cup is crucial for creating designs and achieving optimal results. When you’re ready to finish, lift the pitcher and pull through the design from a couple of inches above. This simple technique helps create symmetry and a clean finish.
Creating Basic Latte Designs
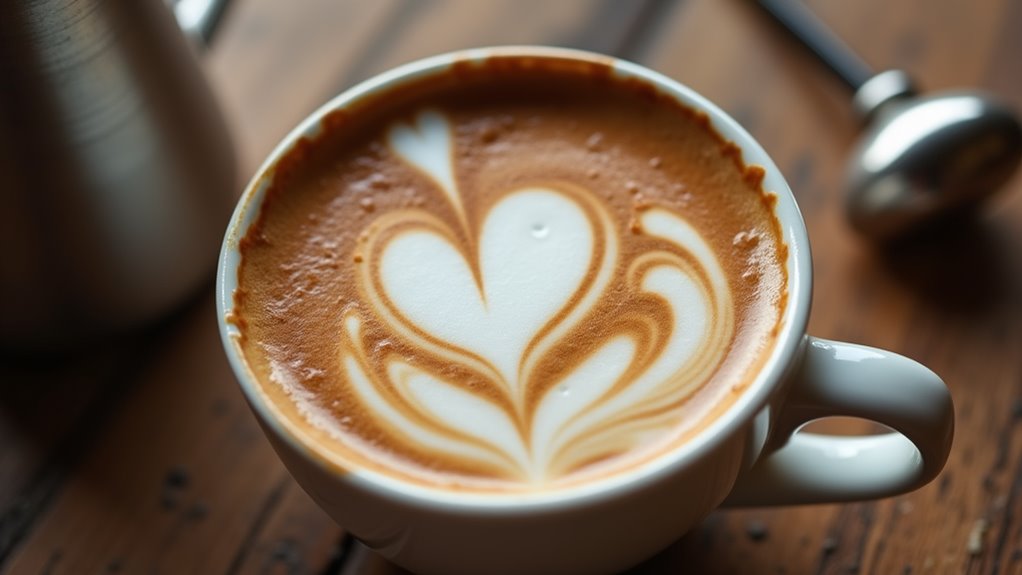
Once you’ve grasped the basic pouring techniques, it’s time to bring your latte art to life with some fundamental designs. The heart design is a great starting point. Just pour the milk side to side, creating a big circle of crema, then fill the cup.
For the tulip, tilt your mug and jiggle the jug while pouring into the center. It’s a lovely layered look! The rosetta is fun too; move the jug side to side and finish with a quick line through the pattern. Using filtered water can enhance the flavor of your coffee, making your latte art both visually appealing and delicious.
Don’t forget the flower design! Shake the pitcher gently while pulling back to create those petals. Quality espresso is essential for achieving the best results in your latte art.
These designs are simple yet impressive, and with practice, you’ll be serving up stunning lattes in no time!
Practice Tips for Improvement
To truly elevate your latte art skills, consistent practice is essential. I found that focusing on milk texture made a huge difference. Aim for a smooth, glossy consistency-think wet paint. Swirl the pitcher to mix air evenly, avoiding that rigid foam layer. Additionally, using high-quality milk significantly enhances the microfoam, which is crucial for creating beautiful designs.
When pouring, hold the pitcher perpendicular to the cup. Start high to mix, then lower and speed up for those designs. I’ve noticed that practicing with larger cups gives you more space to pour, making it easier to control your technique.
If your designs turn out “blobby,” try reducing air in the milk. Using food coloring in practice can save coffee while helping you perfect your movements. Trust me, it’s all about patience and consistency!
Additional Techniques for Success

Building on the practice tips I’ve shared, mastering additional techniques can greatly elevate your latte art game. One of my favorites is the fishtailing technique, where you move the jug side to side while pouring. It adds a lovely flow to your designs.
You’ll also want to perfect the dot technique to create intricate hearts or swans. Don’t underestimate the importance of microfoam management; the right texture is key for those detailed patterns. Quality espresso is essential for a solid base, enhancing the overall appearance and flavor of your latte art. Layering and stacking shapes can lead to stunning tulips and rosettas.
Remember, controlling your pour’s speed and flow helps achieve symmetry, making your designs feel polished. With practice, these techniques will transform your lattes into visual masterpieces!
Frequently Asked Questions
How Do I Choose the Best Coffee Beans for Espresso?
I go for Arabica beans for flavor and Robusta for body, preferring medium roasts for balance. Blends that match my taste are key. Freshness is crucial too!
Can I Use Non-Dairy Milk for Latte Art?
Yes, I often use non-dairy milk for latte art. Barista blends are the best choice, as they provide the creamy texture needed for stunning designs.
What Temperature Should the Milk Be When Steaming?
When steaming milk, aim for 140-150°F for dairy. Going over 160°F can burn or curdle it. Temperature control is key for perfect foam!
How Long Does It Take to Master Latte Art?
Mastering latte art can take a few weeks to several months. It depends on how often you practice, your dedication, and any prior skills. Consistent effort and patience are crucial for creating beautiful coffee designs.
What Common Mistakes Should I Avoid When Pouring?
Avoid mistakes like pouring from too high or having an uneven flow. Keep the spout near the crema and adjust your angle for better patterns. Practice is key!
In Conclusion
Latte art is a journey of practice and patience. Once you get the hang of steaming and pouring, you’ll be crafting designs that wow your friends and family.
Don’t worry about mistakes; they’re just part of learning. Try out different techniques and discover what suits you best.
With a bit of dedication, you’ll be pouring stunning lattes before you know it. So grab your espresso and milk, and let your creativity flow!

