

According to a study published in NSF International, coffee grinders harbor an average of 4 million colonies of bacteria and yeast, making them one of the most contaminated items in your kitchen-dirtier than the average toilet seat. Beyond the health concerns, residual coffee oils oxidize within 48 hours, turning rancid and compromising the flavor of every subsequent batch you grind. If you’ve ever wondered why your expensive specialty beans suddenly taste bitter or stale, your grinder might be the culprit, not your brewing technique.
Most coffee lovers don’t realize that a dirty grinder can completely undermine their entire coffee experience, wasting money on premium beans while brewing with contaminated equipment. The good news? Cleaning your coffee grinder is simpler than you think, requiring just a few minutes and basic household items.
In this guide, you’ll discover exactly how to clean a coffee grinder-whether you own a blade or burr model. We’ll walk through the specific steps for each type, recommend the best cleaning methods and products, establish a maintenance schedule that actually works, and highlight the common mistakes that could damage your equipment. By the end, you’ll have everything you need to keep your grinder in peak condition and your coffee tasting exactly as the roaster intended.
Table of Contents
Why Regular Cleaning Matters
Consistently cleaning your coffee grinder isn’t just a maintenance task-it’s the key to preserving your coffee’s soul.
Those tiny coffee oils and residual grounds aren’t innocent bystanders; they’re flavor assassins waiting to sabotage your next brew. When oils oxidize, they create rancid tastes that mask the delicate notes you’ve carefully selected. Bacteria and mold can also develop, turning your beloved grinder into a potential health hazard. Regular maintenance prevents coffee flavor degradation by eliminating residual oils and preventing cross-contamination between different bean varieties.
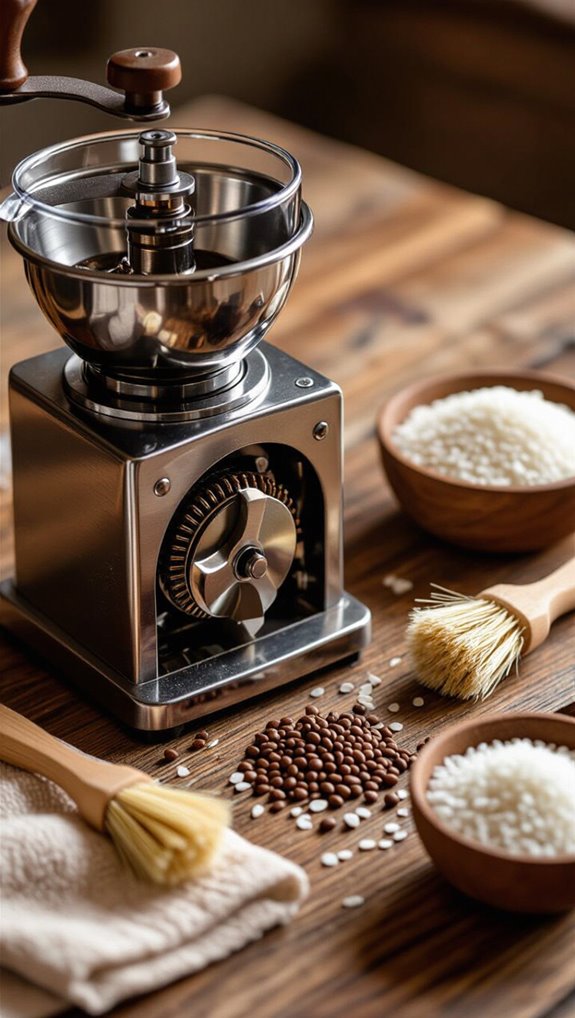
Types of Coffee Grinders
Comprehending coffee grinder types is your roadmap to brewing perfection. Your coffee journey depends on selecting the right grinding tool, each with unique characteristics that impact flavor and extraction. Burr consistency significantly influences extraction quality, with flat and conical designs offering different grinding characteristics.
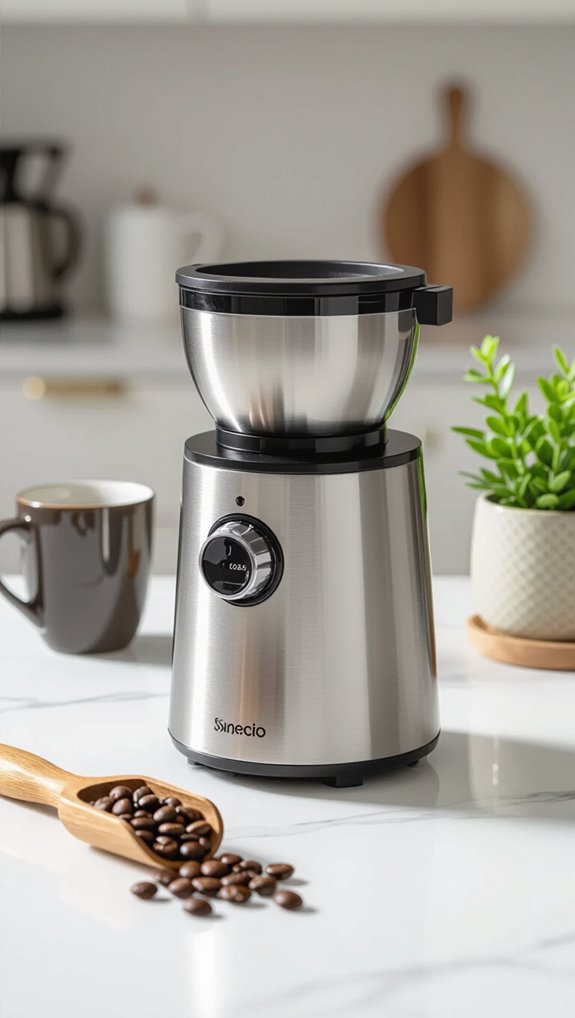
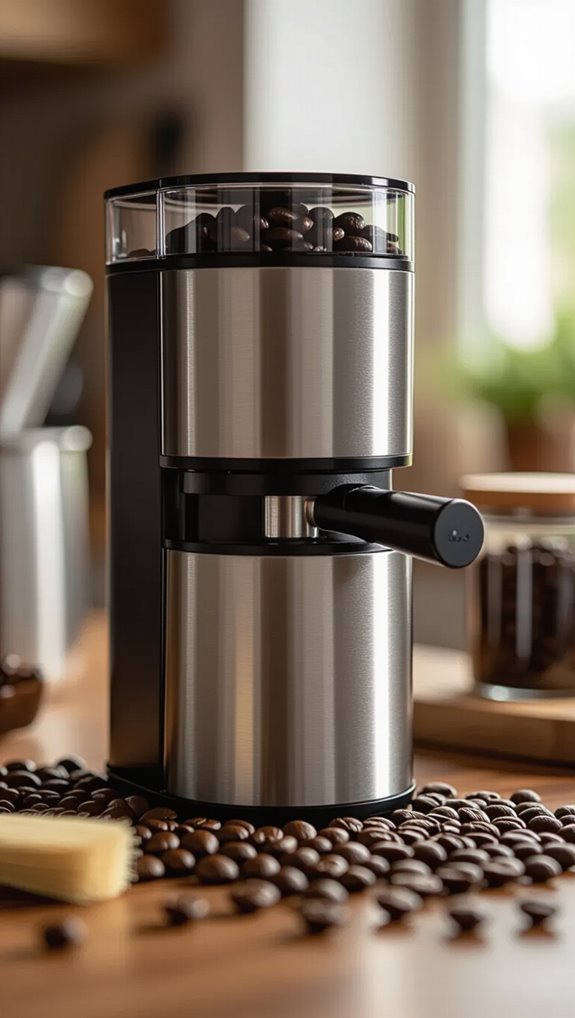
- Blade grinders chop beans unevenly, perfect for budget-conscious brewers
- Burr grinders crush beans consistently, ideal for serious coffee enthusiasts
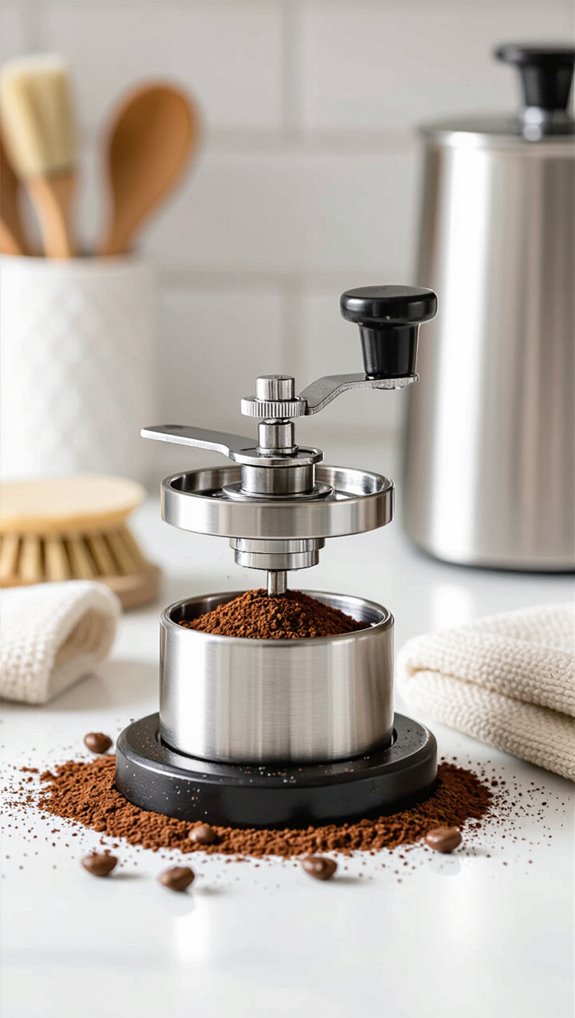
- Manual grinders offer portability and quiet grinding for adventurers
Electric models provide convenience, while specialized grinders cater to precise brewing needs. Whether you’re a casual coffee lover or aspiring barista, grasping these variations helps you choose a grinder that transforms humble beans into a delicious, aromatic brew.
Signs Your Coffee Grinder Needs Cleaning
Your coffee grinder doesn’t just wear down-it sends clear signals when it’s crying out for a thorough cleaning. From inconsistent grinding to unusual noises, these warning signs demand your attention. Let’s break down the key indicators. Coffee grinder maintenance is crucial for preserving the quality and longevity of your brewing equipment.
| Performance | Sensory | Maintenance |
|---|---|---|
| Jamming | Off-flavor | Not cleaned monthly |
| Slow grinding | Stale aroma | Different bean types |
| Difficult settings | Musty odor | Visible residue |
| Motor strain | Dark grounds | Wear signs |
Listening to your grinder’s subtle hints can prevent brew disappointment and extend its lifespan. When in doubt, clean it out-your morning coffee will thank you.
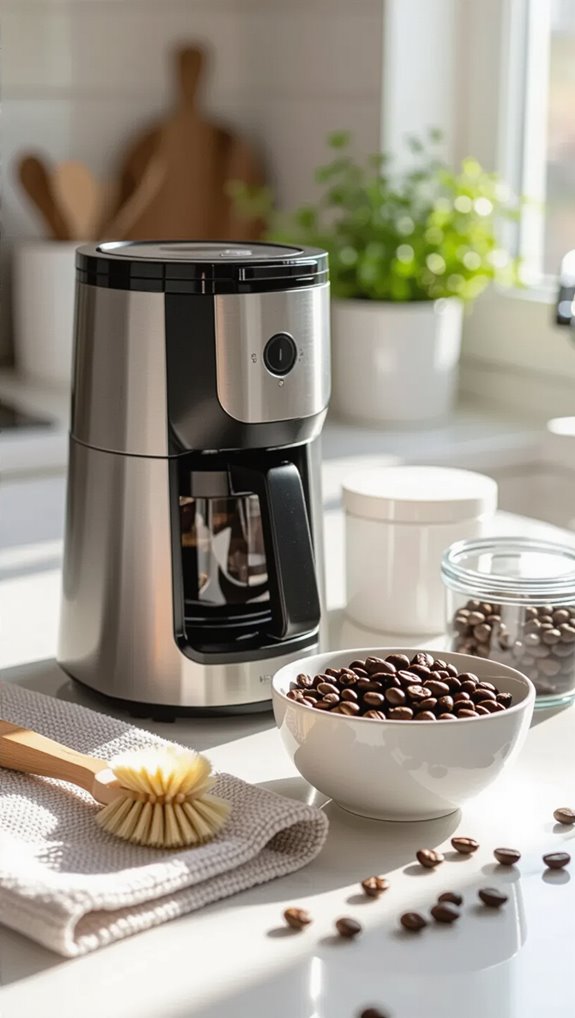
What You’ll Need: Cleaning Tools and Materials
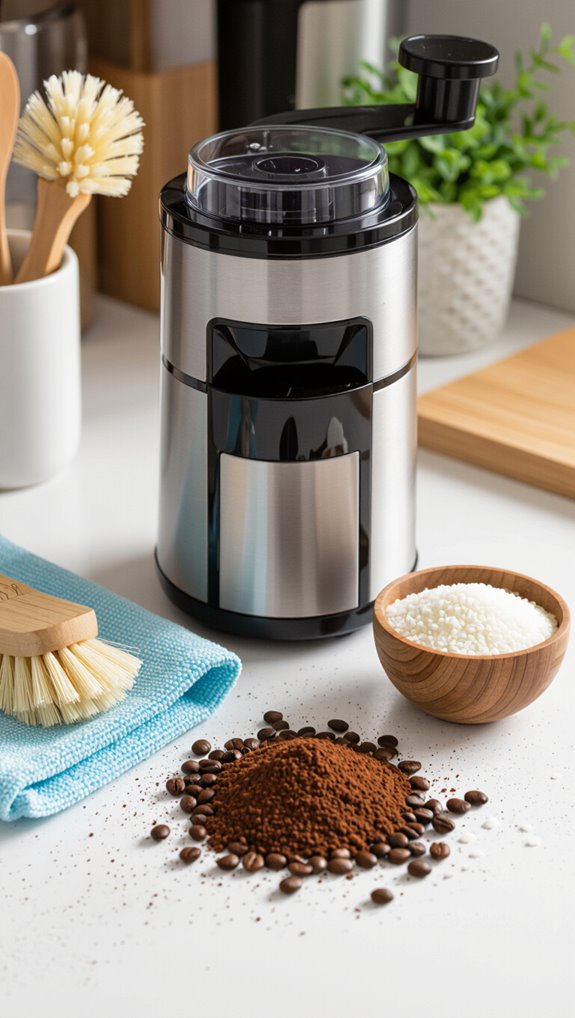
Before diving into cleaning your coffee grinder, let’s round up the essential tools and materials that’ll make your maintenance task smooth and effective.
Your cleaning arsenal should include:
- 🧹 A stiff nylon bristle brush for dislodging stubborn coffee residue from burrs
- 🧼 Dish soap for cleaning removable plastic components
- 🧽 Cotton swabs for reaching tight corners and chutes
Specialized cleaning tools like dedicated grinder brushes from Urnex or coffee machine cleaner powders like Cafiza will help tackle oils and build-up.
Don’t forget microfiber cloths for drying and polishing, ensuring your grinder stays in top shape between deep cleans.
How to Clean a Blade Coffee Grinder
Cleaning a blade coffee grinder requires careful disassembly, thorough ground removal, and meticulous maintenance to preserve your machine’s performance and coffee’s flavor profile.
I’ll walk you through the key steps: unplugging the grinder, removing loose coffee particles, using the rice cleaning method to absorb oils, wiping surfaces with a damp cloth, and ensuring complete drying before reassembly.
Unplugging and disassembling
To kickstart the deep cleaning of your blade coffee grinder, you’ll need to power down and carefully disassemble the device.
Safety comes first, so unplug the grinder to eliminate any risk of accidental blade activation or electrical hazards.
Here’s what you’ll want to do:
- Gently wiggle the power cord from the outlet, ensuring a clean disconnect.
- Remove the lid and bowl with careful, deliberate movements.
- Set components on a clean, dry surface for thorough inspection.
Your goal is a methodical approach that prevents damage while preparing for a comprehensive cleaning process.
Take your time, and you’ll soon have a sparkling clean coffee grinder.
Removing loose grounds
After carefully disassembling your blade coffee grinder, you’ll want to start by removing loose coffee grounds to prevent flavor contamination and maintain your machine’s performance. A soft-bristled brush works wonders for dislodging grounds from chamber walls and blade edges.
Gently sweep the brush into crevices, targeting hard-to-reach areas. Follow up by inverting the grinder over a trash bin and tapping its base to release stubborn particles.
Use dry tissues or microfiber cloths to wipe down surfaces, being cautious around sharp blades. This quick routine ensures your next brew tastes fresh and clean.
Cleaning with rice method
If you’re looking to deep-clean your blade coffee grinder and banish those stubborn, flavor-tainting oils, the rice method might just become your new best friend.
This clever technique helps remove residual grounds and oils that regular cleaning can’t tackle.
3 key steps to visualize:
- Pour 1/2 cup instant rice into hopper
- Grind for one minute until powdery
- Discard oil-absorbed rice powder
Pro tip: After rice cleaning, run a small batch of old beans to expel any remaining rice fragments.
I’ve found this method keeps my grinder performing beautifully, ensuring each brew tastes fresh and clean without any lingering staleness from built-up residue.
Wiping with a damp cloth
Wiping down your blade coffee grinder with a damp cloth is the simplest and most effective way to maintain its cleanliness and preserve your brew’s flavor profile.
I always use a soft, lint-free microfiber cloth slightly dampened with water, ensuring I squeeze out excess moisture to prevent electrical damage.
Target coffee grounds and oil residues, gently wiping interior surfaces like blades and container corners.
Remember to unplug the grinder first, remove loose parts, and avoid getting moisture near electrical components.
After cleaning, immediately dry with a separate microfiber towel to prevent streaking and potential rust.
Drying and reassembling
Thoroughly drying and reassembling your blade coffee grinder is crucial for maintaining its performance and ensuring your next brew tastes fresh and clean.
Imagine this drying ritual like a carefully choreographed dance:
- Spread components on a clean towel, letting air circulate freely
- Gently pat each part with a microfiber cloth to absorb moisture
- Wait until every piece is completely dry before reconnecting
When reassembling, treat each part like a precision instrument.
Align blades carefully, confirm all safety mechanisms are engaged, and do a quick test spin to ensure everything moves smoothly.
Your future coffee will thank you for this meticulous care.
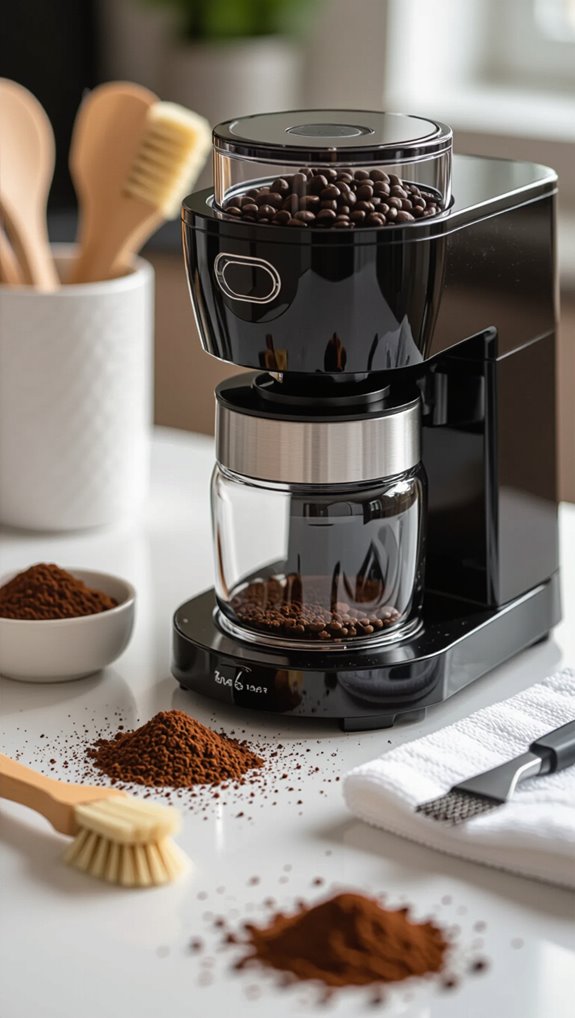
How to clean a Burr Coffee Grinder
I’ll clean my burr coffee grinder methodically by first unplugging the machine, removing the hopper and burrs for thorough access, and then systematically working through each component.
I’ll use soft brushes to sweep out old coffee grounds from the interior, carefully clean removable plastic parts with a damp cloth, and meticulously address the burrs and grinding chamber without introducing moisture.
Once I’ve completed a comprehensive cleaning process, I’ll reassemble the grinder and test it to ensure everything is functioning perfectly.
Unplugging and removing hopper/burrs
When cleaning a burr coffee grinder, safety and systematic disassembly are crucial first steps. Your goal is to prepare the grinder for a thorough clean without risking electrical damage or personal injury.
Safety essentials for cleaning include:
- Unplug the grinder from the power outlet
- Remove the hopper and empty coffee beans
- Carefully detach the grind chamber and outer burr
I always start by disconnecting the power, then methodically remove each component. This approach ensures I can access every nook and cranny without accidentally activating the grinder or losing small parts during the cleaning process.
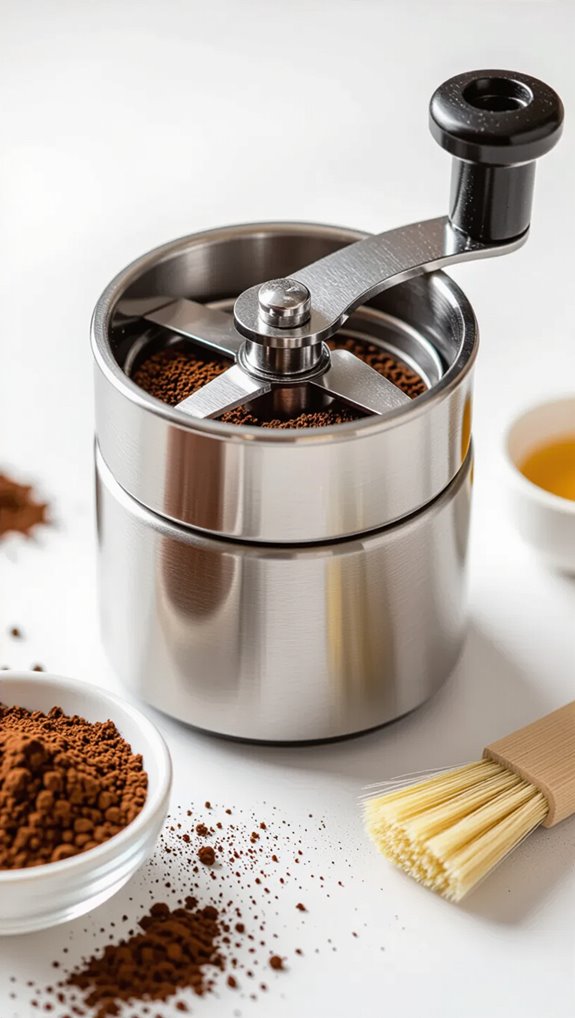
Brushing out old grounds
After carefully removing the hopper and burrs, brushing out old coffee grounds becomes your next critical maintenance step for keeping your burr grinder in top shape.
I recommend using a stiff nylon bristle brush to effectively remove trapped particles from every nook and cranny.
Small paint brushes work great for reaching tight interior crevices, while wooden skewers help dislodge grounds from narrow threads.
Multiple brush passes and gentle taps will release stubborn, statically held coffee dust.
Washing removable parts
Typically, washing removable parts represents a crucial step in maintaining a clean and efficient burr coffee grinder. I’ll walk you through the process with these key steps:
- Unplug the grinder before removing any parts
- Use warm, soapy water and a non-abrasive sponge
- Carefully clean only non-burr components like the hopper and lid
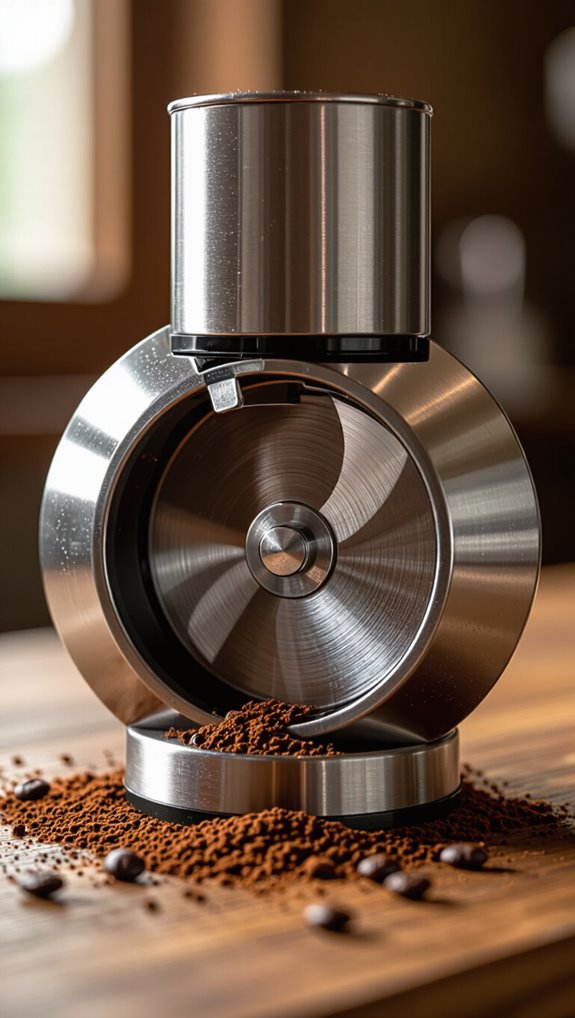
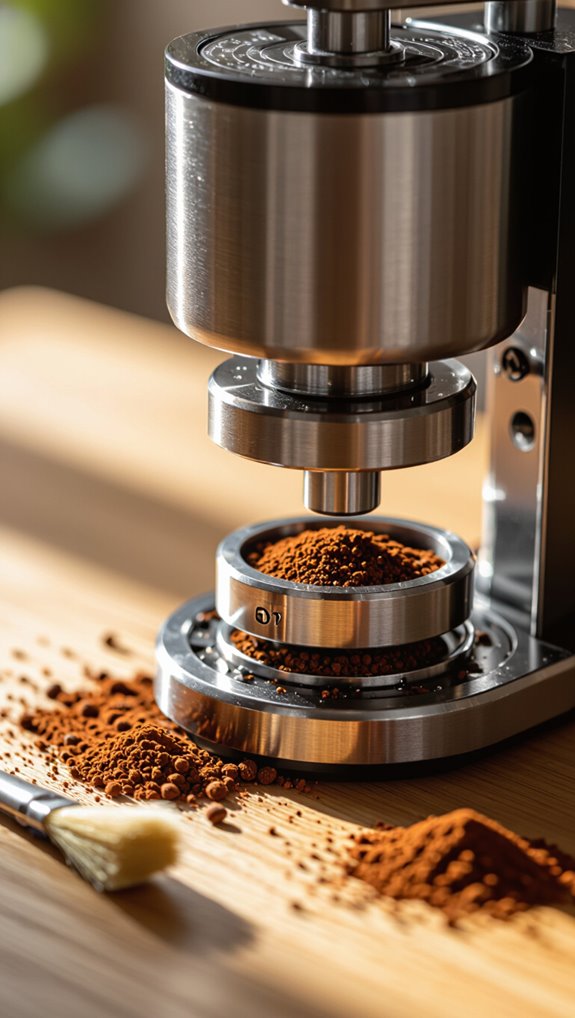
Cleaning burrs and interior
Once you’ve cleaned the removable parts, the next critical step is deep cleaning your burr coffee grinder’s interior mechanisms.
Use a soft, dry brush to gently sweep away coffee dust from burrs and interior surfaces. A wooden toothpick helps dislodge stubborn particles trapped in burr teeth and tight crevices. For hard-to-reach areas, a vacuum with a hose attachment works wonders. Remember to avoid moisture near steel burrs to prevent rust. Food-safe cleaning pellets can absorb oils and clear residues, ensuring your grinder remains in top condition and your coffee tastes fresh.
Reassembling and testing
When you’ve meticulously cleaned every component of your burr coffee grinder, reassembly requires careful attention to detail to ensure optimal performance.
You’ll want to follow a systematic approach to restore your grinder’s functionality.
Key reassembly steps include:
- Align burr-shaft assembly precisely, ensuring cutting surfaces face outward
- Use the correct screwdriver to secure screws, alternating tightening for even placement
- Double-check all components fit snugly without excess force
After reassembling, run a test grind to confirm smooth operation and consistent particle size.
Listen for any unusual sounds that might indicate misalignment, and make adjustments as needed.
Deep Cleaning Tips for Stubborn Residue
Because coffee grinders accumulate stubborn oils and residue over time, deep cleaning becomes crucial for maintaining optimal performance and flavor. Tackle tough buildup with targeted techniques that’ll restore your grinder’s pristine condition.
| Cleaning Tool | Best Use |
|---|---|
| Toothpick | Precision removal of caked residue |
| Soft brush | Static reduction and surface cleaning |
| Cleaning pellets | Absorbing deep-seated coffee oils |
| Vacuum | Extracting loosened debris |
| Microfiber cloth | Wiping exterior surfaces |
Pro tip: Always use dry cleaning methods for metal burrs, avoiding liquid that could cause rust. Carefully dislodge stubborn residue with gentle brushing and targeted picking, ensuring your grinder remains in top-notch condition for the perfect brew.
How Often Should You Clean Your Coffee Grinder?
How Often Should You Clean Your Coffee Grinder?
After meticulously clearing away stubborn coffee residue, you’ll want to establish a smart cleaning routine that keeps your grinder performing at its best.
Your cleaning frequency depends on three key factors:
- Coffee consumption (daily vs. occasional)
- Bean roast type (dark, oily beans need more cleaning)
- Grinder type (burr vs. blade)
Daily users should quick clean weekly and deep clean every two weeks.
Light users can stretch deep cleaning to monthly.
Dark roast drinkers need more frequent maintenance due to higher oil content.
Maintenance Tips to Keep Your Grinder in Top Shape

Meticulous coffee grinder maintenance isn’t just a chore-it’s the secret to consistently delicious coffee and a long-lasting appliance.
Regular cleaning prevents oil buildup and ensures your grinder performs at its best. I recommend dry brushing burrs, using cleaning tablets, and wiping down accessible parts with a lint-free cloth.
Always inspect for wear, checking burrs, electrical components, and overall performance. Store your grinder in a cool, dry place away from direct sunlight, and unplug when not in use.
Deep clean periodically, following manufacturer instructions, and you’ll extend your grinder’s life and maintain coffee quality.
Common Mistakes to Avoid When Cleaning a Coffee Grinder
When cleaning your coffee grinder, avoiding common pitfalls can mean the difference between a pristine machine and an expensive repair.
Mistakes can silently destroy your beloved brewing companion:
- Water droplets seeping into electrical components like a stealthy invader
- Harsh chemicals corroding delicate metal surfaces like acid eating through metal
- Compressed air blowing coffee particles deeper into hidden mechanical crevices
Your grinder demands careful, methodical cleaning.
Skipping removable parts or using improper tools risks flavor contamination, mechanical damage, and reduced performance.
Always use food-safe cleaning agents, inspect for wear, and reassemble with precision.
Your morning brew’s quality depends on it.
Frequently Asked Questions
Can I Use Rice to Clean My Coffee Grinder?
I recommend using instant rice carefully, but commercial cleaning pellets are safer. Rice can damage grinder burrs, so if you try it, use quick-cook rice and follow with coffee beans to remove residue.
How Do I Prevent Static Buildup When Grinding Coffee?
I prevent static buildup by adding a couple water droplets to my beans, using a metal catch bin, grinding in a humid environment, and letting my grounds rest for a few minutes before handling them.
What Happens if I Don’t Clean My Coffee Grinder?
If I don’t clean my coffee grinder, I’ll ruin my coffee’s flavor, risk equipment damage, and create a breeding ground for rancid oils, clogs, and potential motor failure. My grinder’s performance and taste quality will rapidly deteriorate.
Are There Differences in Cleaning Electric Versus Manual Grinders?
Yes, there are significant differences! Electric grinders need more frequent, complex cleaning with specific tools like compressed air and cleaning tablets, while manual grinders can be simply disassembled and cleaned by hand with minimal specialized equipment.
Can Cleaning Materials Damage My Coffee Grinder’s Internal Components?
Yes, inappropriate cleaning materials can seriously damage my grinder’s internal components. Harsh chemicals, abrasive tools, and excessive moisture can degrade plastic, scratch burrs, corrode surfaces, and potentially introduce toxic residues that compromise both the machine and my coffee’s quality.
In Conclusion
Keeping your coffee grinder clean doesn’t have to be complicated. Whether you’re wondering how to clean a coffee grinder with a blade design or maintaining a burr model, the key is consistency. A quick weekly clean and a deeper monthly scrub will preserve your grinder’s performance and protect the nuanced flavors you love in your coffee. Think of it as a small investment of time that pays off in every cup.
Now that your grinder is spotless and ready to go, why stop there? The right coffee machine can elevate your brewing ritual even further. If you’re looking to upgrade or expand your home coffee setup, check out our coffee machine reviews to explore well-tested, highly-rated options that match your taste and budget. Great coffee starts with clean equipment and smart choices-and we’re here to help you make both.